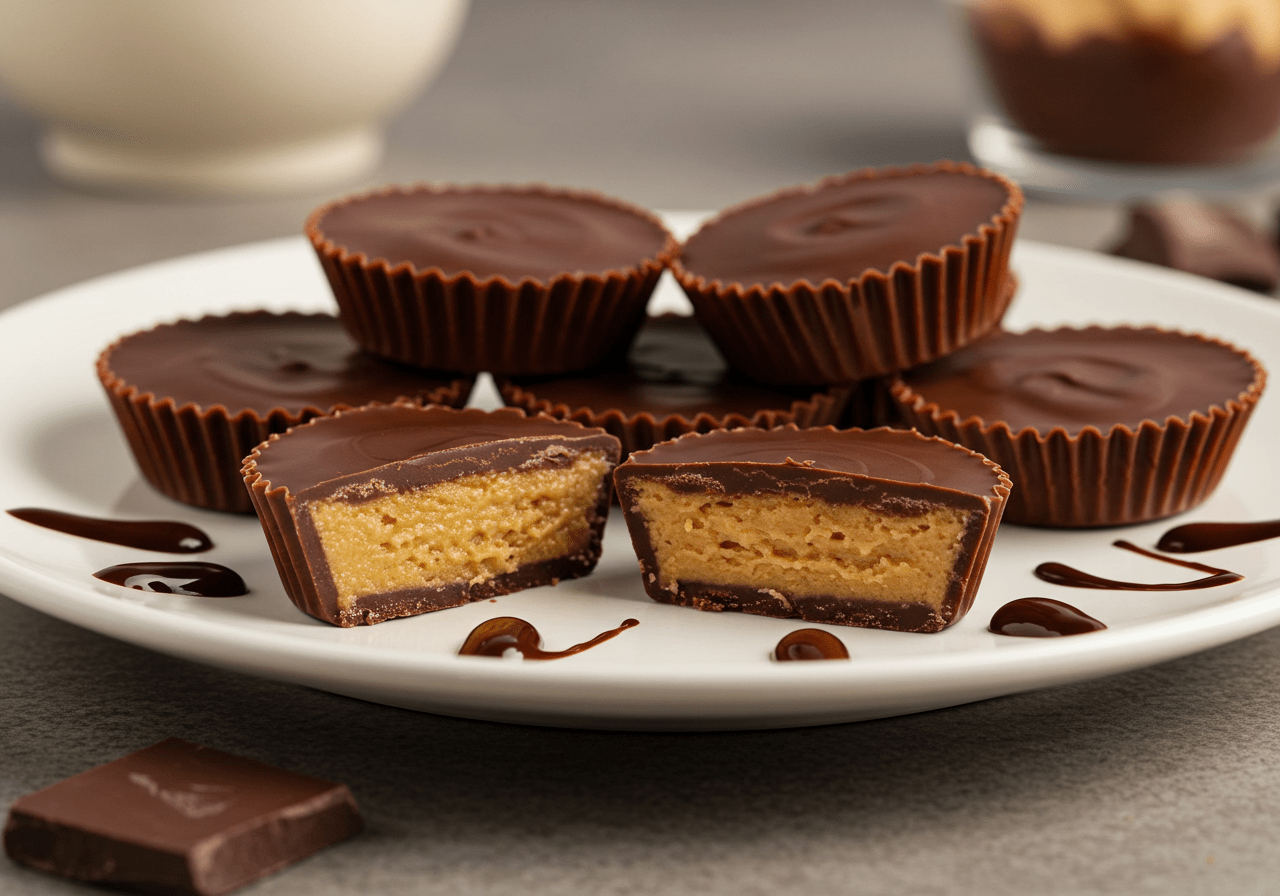
Homemade Peanut Butter Cups: A Decadent Treat 🥜🍫✨
Table of contents
1. Introduction
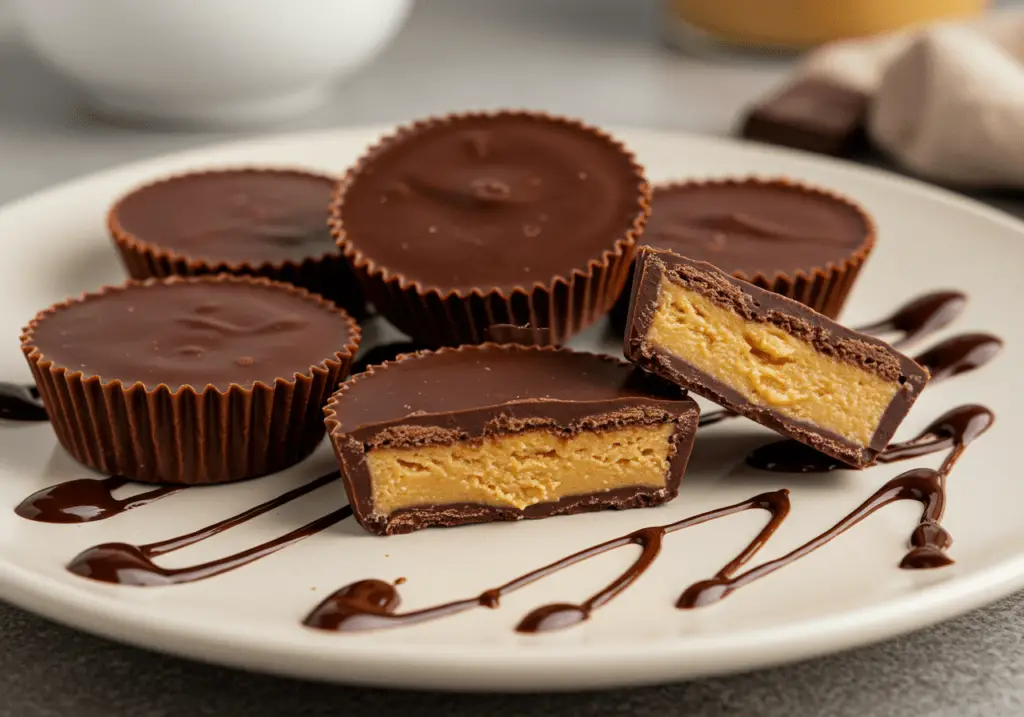
Indulge in the decadence of Homemade Peanut Butter Cups, a timeless treat that combines rich, creamy peanut butter filling with smooth, velvety chocolate. While store-bought versions are convenient, making these candies at home ensures they’re fresher, free from preservatives, and fully customizable to suit your taste preferences. Whether you’re preparing them for holidays, parties, or simply satisfying your sweet tooth, these peanut butter cups are sure to impress.
Learn more about the health benefits of dark chocolate by visiting this link. For tips on achieving a glossy chocolate coating, explore our guide on tempering chocolate here.
2. What Are Peanut Butter Cups?
Peanut Butter Cups are a beloved classic, featuring a luscious combination of smooth, rich chocolate encasing a creamy, slightly salty peanut butter filling. This harmonious blend of sweet and salty flavors makes them irresistible to both kids and adults alike. Their versatility ensures they’re perfect for gifting during the holidays, adding to dessert platters, or enjoying as an everyday indulgence.
For more sweet-and-salty inspiration, browse our collection of dessert recipes here.
3. Ingredients List (Exact Measurements)
To create these irresistible Peanut Butter Cups, gather the following ingredients:
For the Chocolate Coating:
- 12 oz semi-sweet or dark chocolate chips
- 1 teaspoon coconut oil (optional, for smooth melting)
For the Peanut Butter Filling:
- 1 cup creamy peanut butter
- ½ cup powdered sugar
- 2 tablespoons unsalted butter (softened)
- ¼ teaspoon salt (omit if using salted peanut butter)
- ½ teaspoon vanilla extract (optional)
These carefully selected ingredients ensure your peanut butter cups will be rich, creamy, and perfectly balanced. For more ingredient ideas, explore our guide on homemade treats here.
4. Step-by-Step Instructions
Preparing the Chocolate Coating
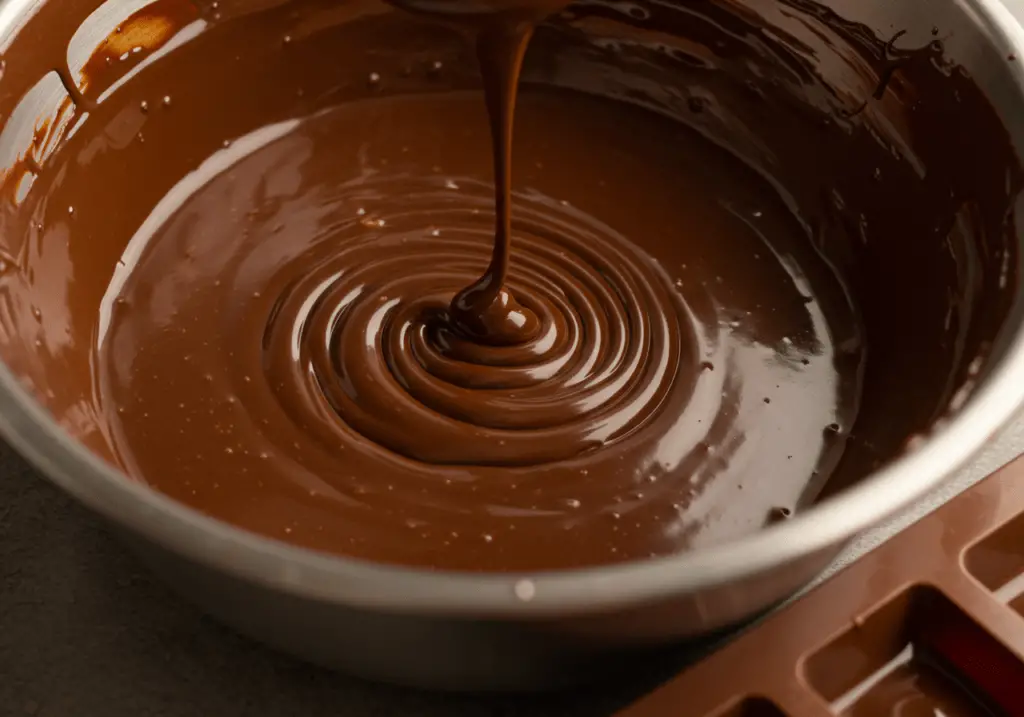
Melt half of the chocolate chips in a microwave-safe bowl in 30-second intervals, stirring between each interval until smooth. If using coconut oil, stir it in for a smoother texture. Set aside to cool slightly while you prepare the filling. For more melting tips, visit our guide on chocolate tempering techniques here.
Making the Peanut Butter Filling
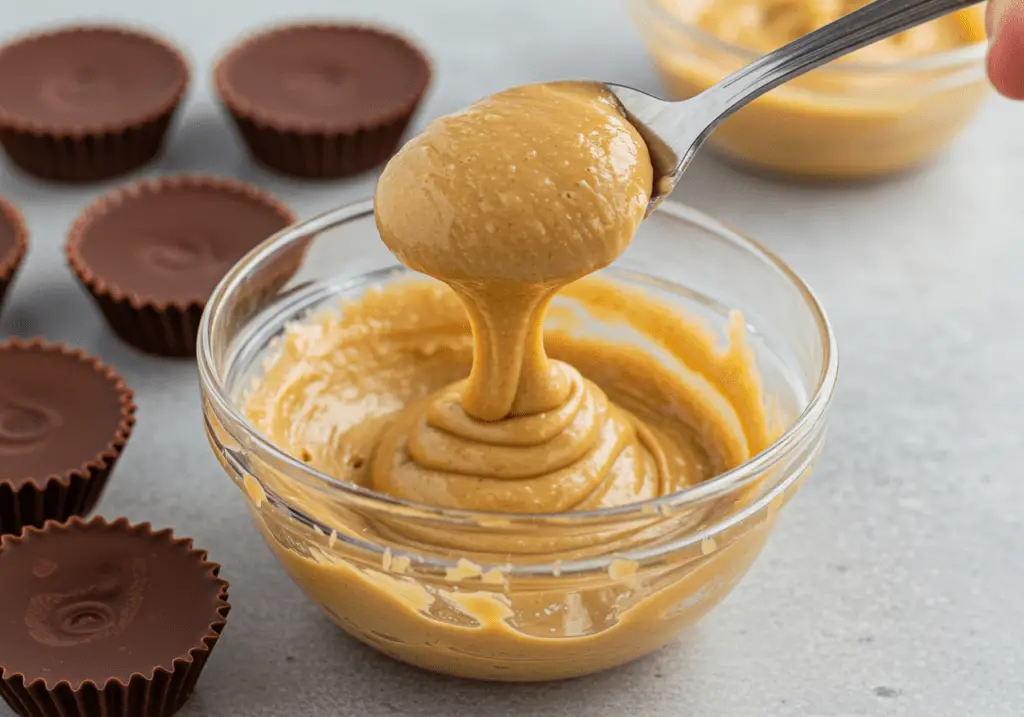
In a mixing bowl, combine 1 cup of creamy peanut butter, ½ cup of powdered sugar, 2 tablespoons of softened butter, ¼ teaspoon of salt, and ½ teaspoon of vanilla extract (if using). Mix until the mixture forms a soft dough. Roll the dough into small balls, then flatten them slightly into discs. Place the discs on a parchment-lined plate and chill in the refrigerator for 15–20 minutes to firm up. For more candy-making tips, explore our resource on no-bake desserts here.
Assembling the Cups
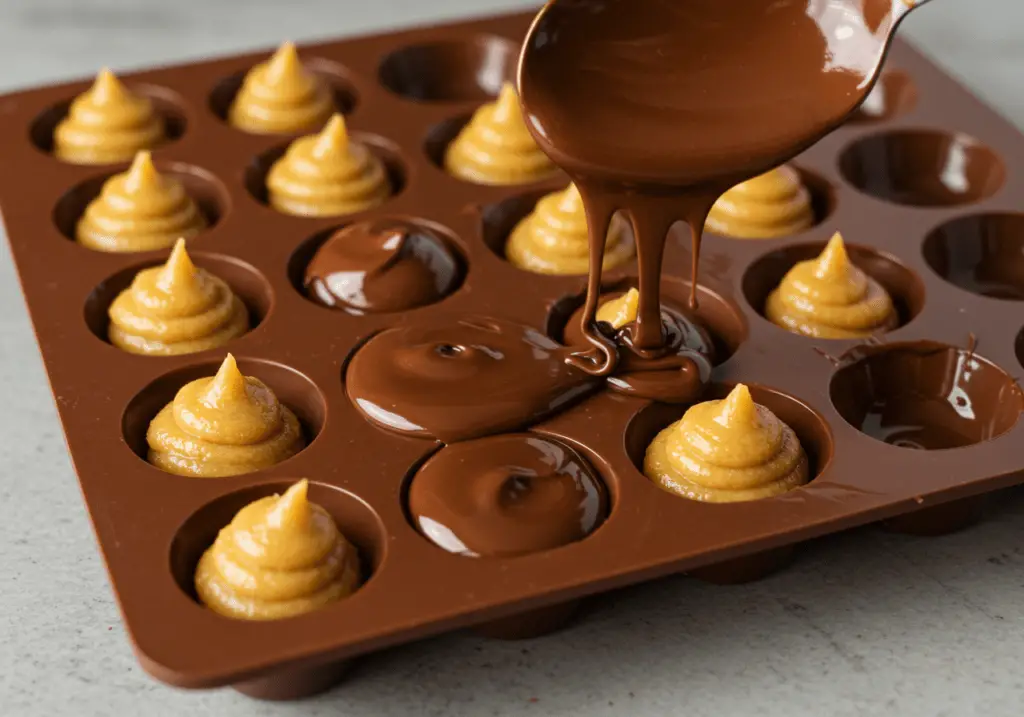
Line a mini muffin tin with paper liners. Spoon a small amount of melted chocolate into the bottom of each liner, spreading it evenly to form the base. Place the tray in the refrigerator for 5 minutes to set. Remove the chilled peanut butter discs and place one in each cup. Top with more melted chocolate, ensuring the peanut butter is fully covered. Smooth the tops with the back of a spoon. For assembly advice, browse our collection of holiday candy inspiration here.
Chilling and Storing
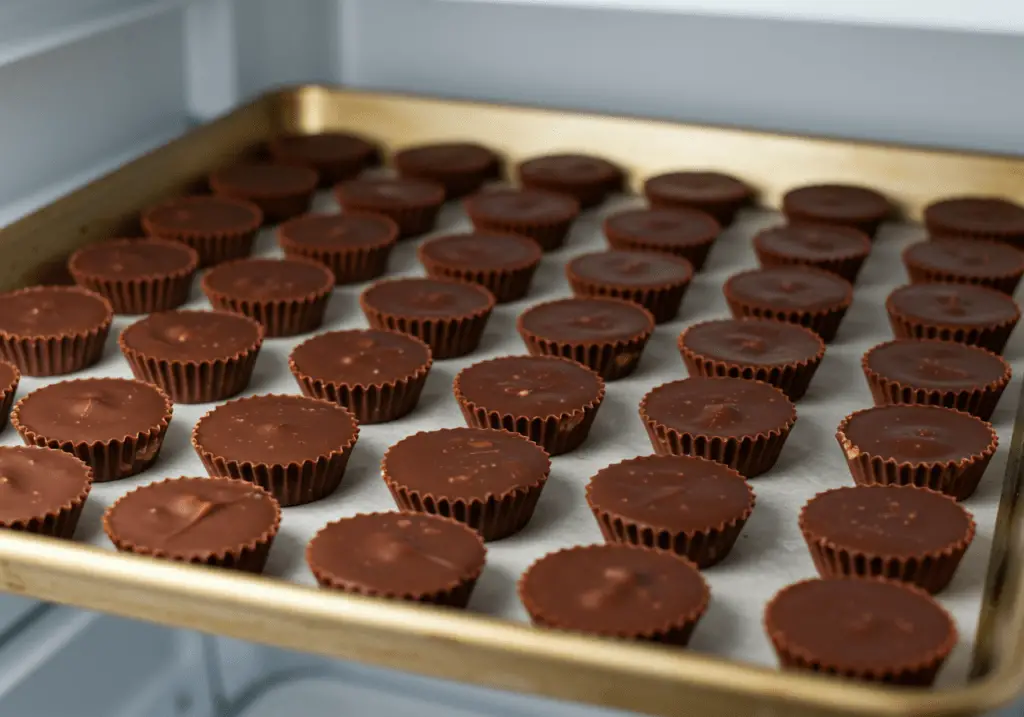
Refrigerate the peanut butter cups for at least 30 minutes to allow the chocolate to set completely. Store in an airtight container in the refrigerator for up to 2 weeks or at room temperature for shorter storage. For storage tips, explore our guide on preserving homemade treats here.
5. Customizing Your Peanut Butter Cups
To make your Peanut Butter Cups truly unique, consider these customizations:
- Chocolate Variations: Swap semi-sweet chocolate for milk chocolate, white chocolate, or dark chocolate for a different flavor profile.
- Sweet-and-Salty Twist: Add a sprinkle of sea salt on top for enhanced contrast.
- Texture Options: Experiment with crunchy peanut butter or almond butter for added crunch.
- Vegan Version: Use dairy-free chocolate and substitute butter with coconut oil for a plant-based option.
These tweaks ensure the recipe suits diverse tastes and dietary needs. For more customization ideas, check out our easy recipe swaps here.
6. Serving Suggestions
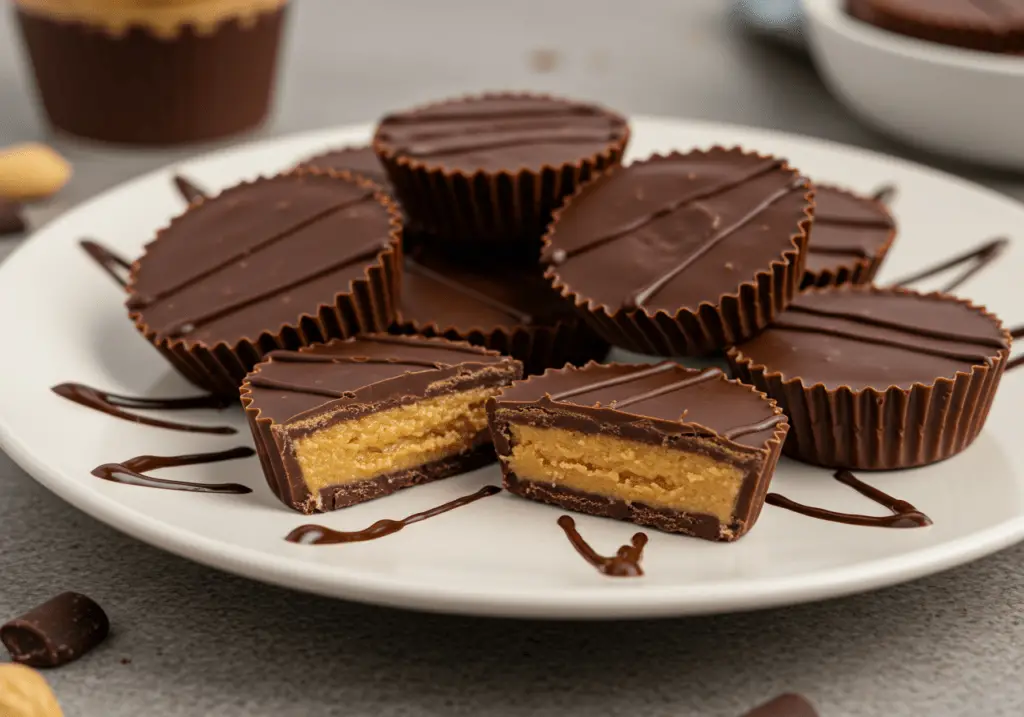
These peanut butter cups shine when served chilled or at room temperature for a rich, creamy experience. Pair them with a glass of cold milk or coffee for a comforting treat. For thoughtful homemade gifts, package them in decorative boxes or tins. For more serving ideas, browse our collection of family-friendly baking ideas here.
7. Variations and Substitutions
This recipe is highly adaptable:
- Gluten-Free: By default, this dish is gluten-free, but ensure all ingredients are certified gluten-free if needed.
- Natural Sweeteners: Substitute honey or maple syrup for powdered sugar for a less processed option.
- Extra Indulgence: Add a drizzle of melted chocolate or caramel on top for an extra layer of flavor.
These variations ensure everyone can enjoy the treat. For more substitution ideas, check out our healthy swaps here.
8. Nutritional Information
Each Peanut Butter Cup contains approximately 150 calories. Here’s the macronutrient breakdown per cup:
- Carbohydrates: 12g
- Fats: 10g
- Proteins: 3g
Please note these values may vary slightly based on portion sizes and specific ingredients used. Enjoy responsibly!
9. FAQs Section
Here are answers to some common questions about this recipe:
Q: Can I use store-bought peanut butter filling?
Yes, but homemade filling allows for better customization and texture. Making it from scratch ensures a fresher, creamier result.
Q: How do I prevent the chocolate from cracking?
Ensure the chocolate is tempered properly or add a small amount of coconut oil for flexibility. Avoid refrigerating the cups too quickly after assembly.
Q: Can I freeze these peanut butter cups?
Absolutely! Freeze in an airtight container for up to 3 months. Thaw in the fridge before serving to maintain texture and flavor.
Q: What if I don’t have a mini muffin tin?
Use silicone molds or make larger cups with a standard muffin tin. Adjust the amount of filling and chocolate accordingly.
10. Conclusion
Making Homemade Peanut Butter Cups is a simple yet rewarding way to enjoy a decadent treat that’s perfect for any occasion. With their creamy peanut butter filling, rich chocolate coating, and endless customization options, these candies are sure to become a staple in your kitchen. Whether you stick to the original recipe or experiment with your own twists, these peanut butter cups promise to delight everyone who tries them.
We’d love to see your creations! Share your photos on social media using the hashtag #HomemadePeanutButterCups and tag us for a chance to be featured. Have feedback or questions? Leave a comment below—we’re here to help! For more easy candy recipes, explore our collection of sweet and salty snacks here. Happy baking! 🥜🍫✨
Print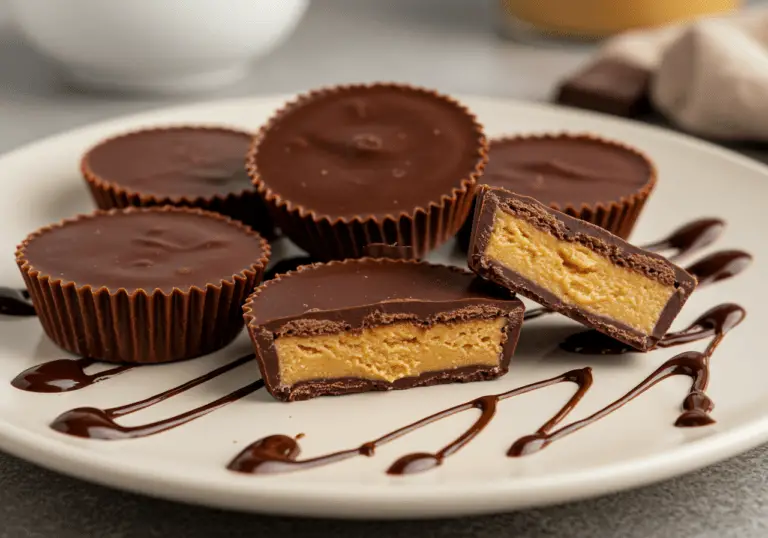
Homemade Peanut Butter Cups
Indulge in these Homemade Peanut Butter Cups—a rich, creamy peanut butter filling encased in smooth chocolate. Perfect for gifting or satisfying your sweet tooth! 🎁🍴
- Total Time: 40 minutes (including chilling)
- Yield: 12–15 mini cups 1x
Ingredients
- For the Chocolate Coating:
- 12 oz semi-sweet or dark chocolate chips
- 1 tsp coconut oil (optional, for smooth melting)
- For the Peanut Butter Filling:
- 1 cup creamy peanut butter
- ½ cup powdered sugar
- 2 tbsp unsalted butter (softened)
- ¼ tsp salt (omit if using salted peanut butter)
- ½ tsp vanilla extract (optional)
Instructions
- Preparing the Chocolate Coating: Melt half of the chocolate chips in a microwave-safe bowl in 30-second intervals, stirring between each interval until smooth. If using coconut oil, stir it in for a smoother texture. Set aside to cool slightly.
- Making the Peanut Butter Filling: In a mixing bowl, combine peanut butter, powdered sugar, softened butter, salt, and vanilla extract. Mix until the mixture forms a soft dough. Roll the dough into small balls, then flatten them slightly into discs. Place the discs on a parchment-lined plate and chill in the refrigerator for 15–20 minutes to firm up.
- Assembling the Cups: Line a mini muffin tin with paper liners. Spoon a small amount of melted chocolate into the bottom of each liner, spreading it evenly to form the base. Place the tray in the refrigerator for 5 minutes to set. Remove the chilled peanut butter discs and place one in each cup. Top with more melted chocolate, ensuring the peanut butter is fully covered. Smooth the tops with the back of a spoon.
- Chilling and Storing: Refrigerate the peanut butter cups for at least 30 minutes to allow the chocolate to set completely. Store in an airtight container in the refrigerator for up to 2 weeks or at room temperature for shorter storage.
Notes
- For a vegan option, use dairy-free chocolate and substitute butter with coconut oil.
- Gluten-free by default, but ensure all ingredients are certified gluten-free if needed.
- Storage tip: Freeze in an airtight container for up to 3 months. Thaw in the fridge before serving.
- Prep Time: 20 minutes
- Cook Time: 0 minutes
- Category: Dessert
- Method: No-Bake
- Cuisine: American-inspired
Nutrition
- Serving Size: 1 peanut butter cup (1/12th to 1/15th of the recipe)
- Calories: 180 kcal
- Sugar: 15 g
- Sodium: 50 mg
- Fat: 12 g
- Saturated Fat: 6 g
- Unsaturated Fat: 5 g
- Trans Fat: 0 g
- Carbohydrates: 18 g
- Fiber: 1 g
- Protein: 3 g
- Cholesterol: 0 mg

