How to Perfect Your Homemade Italian Pizza Dough: A Step-by-Step Guide 🍕✨
Table of contents
1. Introduction
There’s nothing quite like the aroma of freshly baked pizza wafting through your home, bringing everyone to the table for a cozy meal together. Homemade Italian pizza dough is the cornerstone of this beloved dish, offering a chewy yet crisp texture that elevates any topping combination. Whether you’re hosting a themed pizza night, celebrating with family, or simply craving a classic comfort food, mastering this dough ensures restaurant-quality results right in your kitchen.
The beauty of homemade pizza lies in its versatility—customize it to suit your taste, from a simple Margherita to gourmet creations like prosciutto and arugula. Dive deeper into the history of pizza and its Italian origins by visiting this link. For more inspiration on family-friendly meals, explore our guide on creative recipes here.
2. What Is Perfect Homemade Italian Pizza Dough?
Perfect homemade Italian pizza dough is all about simplicity and technique. Made with just a few high-quality ingredients—flour, yeast, water, olive oil, salt, and sugar—it achieves a balance of chewiness and crispness that defines authentic Italian pizza. The secret lies in the traditional preparation method, which includes proper kneading and rising times to develop flavor and texture.
This dough serves as the foundation for endless creativity, whether you’re crafting a classic Margherita, loading it up with pepperoni, or experimenting with seasonal veggies. Its adaptability makes it suitable for casual dinners, themed parties, or special occasions. For tips on kneading dough, check out our guide on mastering dough techniques here.
3. Ingredients List (Exact Measurements)
To create this delicious homemade Italian pizza dough, gather the following ingredients:
- 3 ½ cups all-purpose flour (plus extra for dusting)
- 1 packet (2 ¼ teaspoons) active dry yeast
- 1 ½ cups warm water (110°F/45°C)
- 2 tablespoons olive oil
- 1 teaspoon salt
- 1 teaspoon sugar
These simple, wholesome ingredients ensure your dough will have the perfect texture and flavor. For more baking essentials, browse our guide on bread-making recipes here.
4. Step-by-Step Instructions
Activating the Yeast

Begin by activating the yeast—a crucial step for achieving a light, airy dough. In a small bowl, dissolve 1 packet of active dry yeast and 1 teaspoon of sugar in 1 ½ cups of warm water (110°F/45°C). Let the mixture sit for 5–10 minutes until it becomes frothy, indicating that the yeast is alive and ready to work its magic. If the mixture doesn’t foam, discard it and start again with fresh yeast. This process ensures your dough rises properly. For more yeast tips, explore our guide on baking basics here.
Mixing the Dough
In a large mixing bowl, combine 3 ½ cups of all-purpose flour and 1 teaspoon of salt. Make a well in the center and pour in the activated yeast mixture along with 2 tablespoons of olive oil. Stir with a wooden spoon or your hands until a shaggy dough begins to form. The dough will be sticky at first, but resist the urge to add too much extra flour, as this can make the crust tough. Once combined, transfer the dough to a lightly floured surface for kneading. For more mixing techniques, check out our guide on mixing methods here.
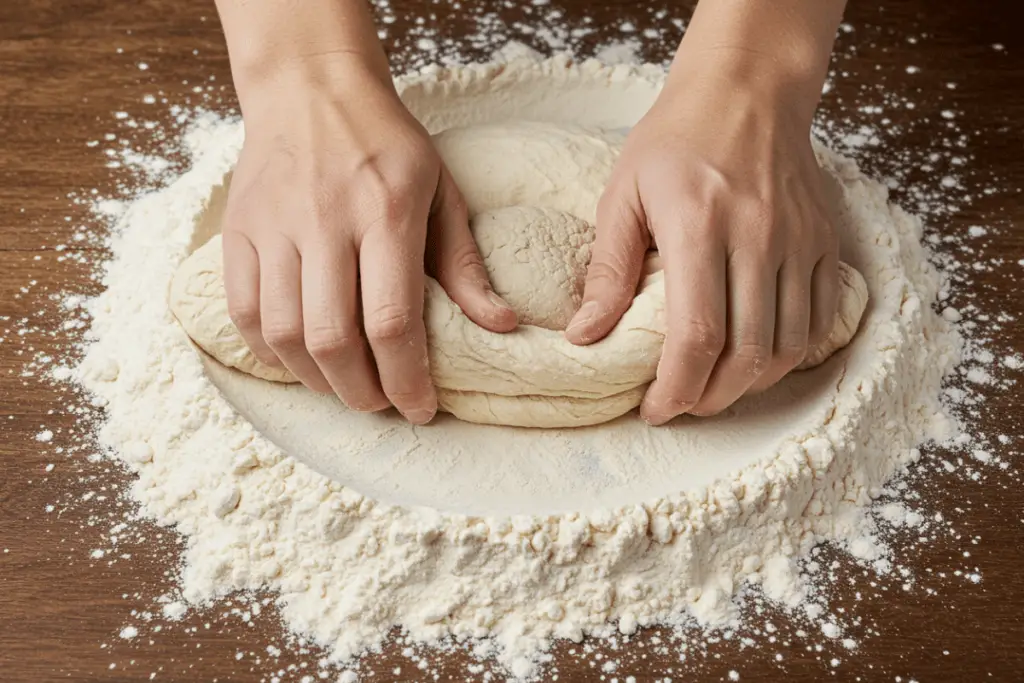
Kneading the Dough
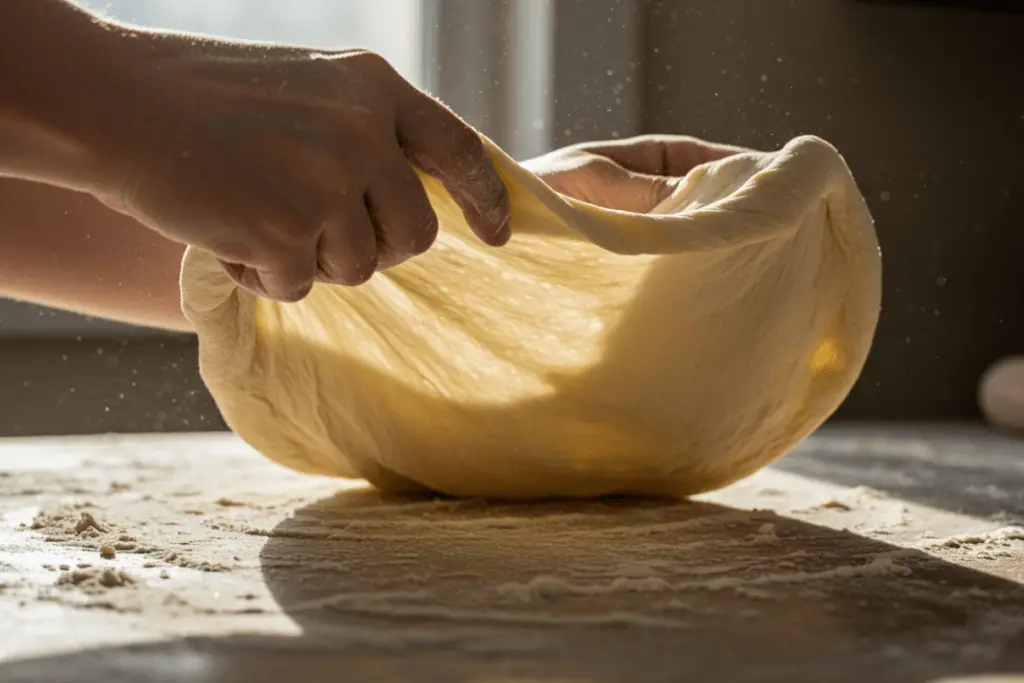
Kneading is where the magic happens—developing gluten for that signature chewy texture. Lightly flour your hands and work surface, then knead the dough for 8–10 minutes until it becomes smooth, elastic, and slightly tacky. To knead, fold the dough in half toward you, press down firmly with the heels of your hands, turn it 90 degrees, and repeat. If the dough feels too sticky, sprinkle a small amount of flour as needed. Proper kneading ensures your crust will have the perfect structure. For more kneading tips, visit our guide on perfect dough techniques here.
Rising the Dough
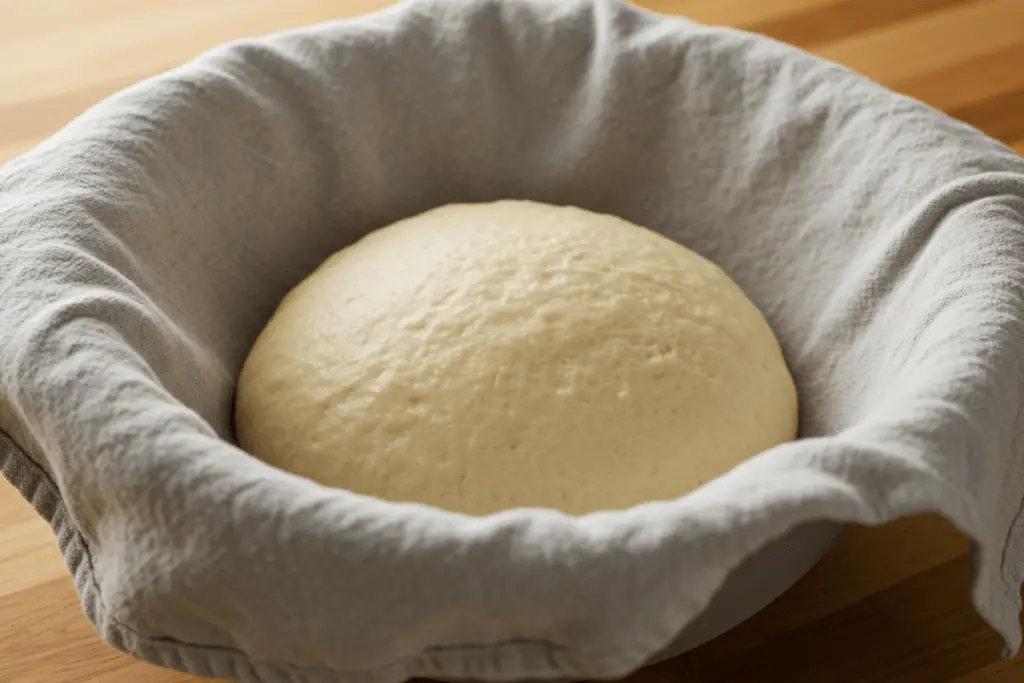
Once kneaded, shape the dough into a ball and place it in a lightly oiled bowl, turning it to coat all sides. Cover the bowl with a clean kitchen towel or plastic wrap and let it rise in a warm, draft-free area for 1–2 hours, or until it has doubled in size. Rising allows the yeast to ferment and develop flavor while creating air pockets for a light, airy crust. For best results, avoid rushing this step. For more rising tips, explore our guide on slow-cooking methods here.
5. Shaping and Baking the Dough
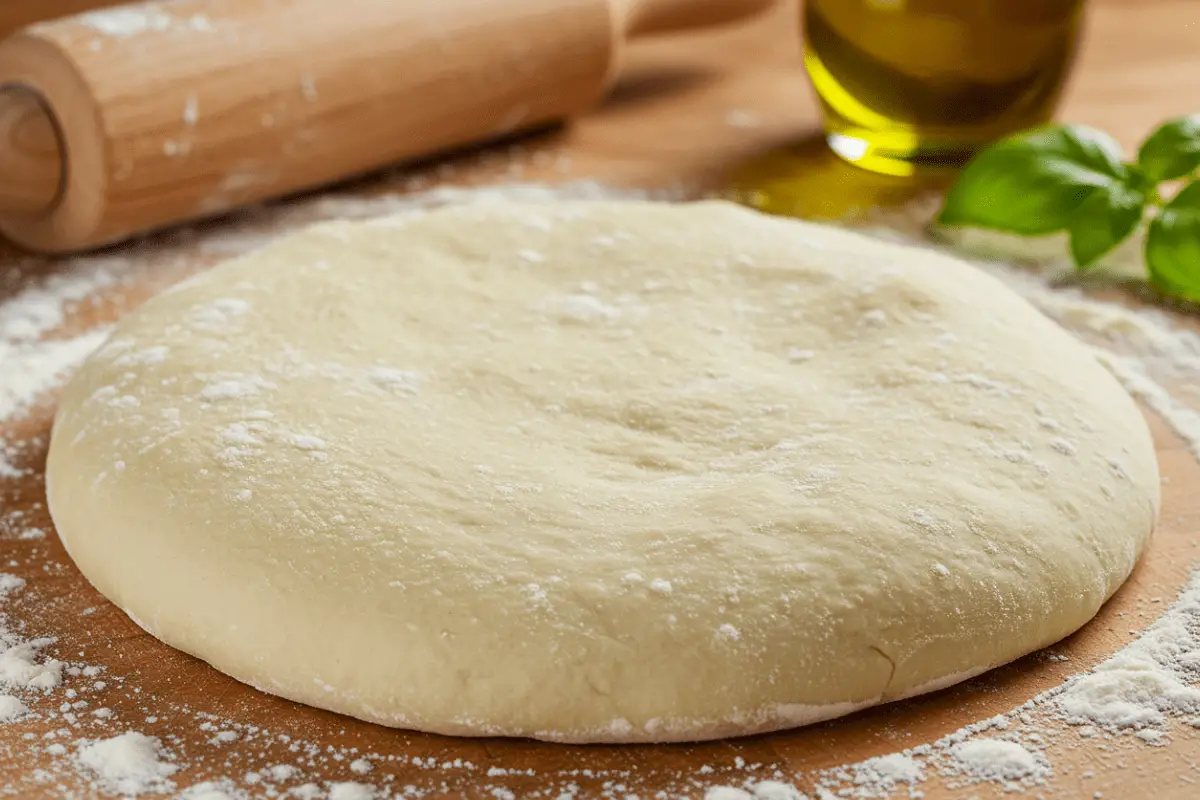
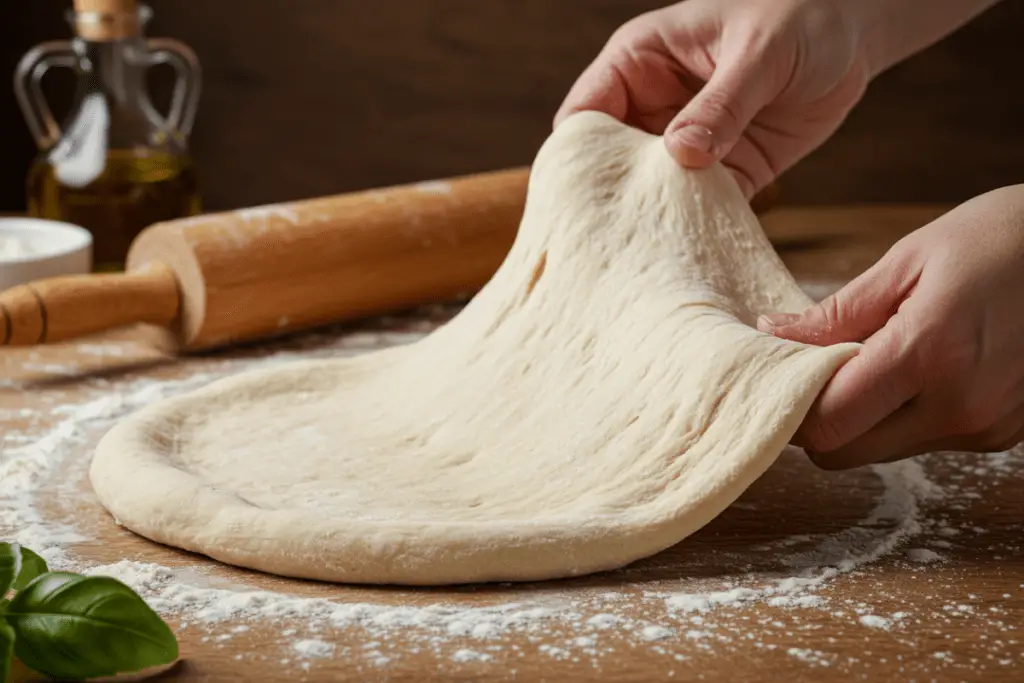
After the dough has risen, punch it down gently to release excess air. Divide it into portions for individual pizzas or leave it whole for a larger pie. On a lightly floured surface, shape the dough into a thin, even circle or rectangle, depending on your preference. Stretch it gently with your hands or roll it out with a rolling pin, leaving the edges slightly thicker for a rustic crust.
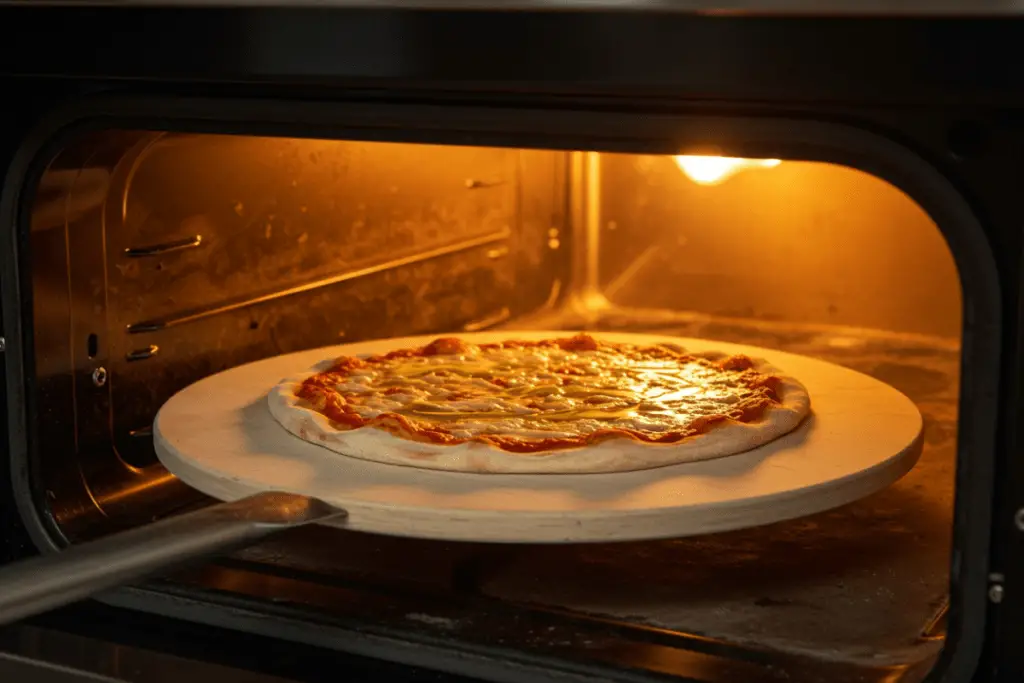
Preheat your oven to its highest temperature (usually 475°F–500°F) and place a pizza stone or inverted baking sheet inside to heat up. Transfer the shaped dough onto parchment paper or a preheated baking sheet, add your desired toppings, and bake for 10–15 minutes until the crust is golden brown and the cheese is bubbly. For more shaping and baking tips, browse our collection of family-friendly recipes here.
6. Serving Suggestions
Serve your homemade pizza with classic toppings like tomato sauce, fresh mozzarella, fresh basil, and a drizzle of olive oil for an authentic Margherita experience. For something more adventurous, try combinations like BBQ chicken with red onions, prosciutto with arugula, or roasted vegetables with goat cheese. Pair your pizza with a side salad or garlic bread for a complete meal.
To store leftover dough, wrap it tightly in plastic wrap and refrigerate for up to 2 days. For longer storage, freeze the dough in an airtight container for up to 3 months; thaw overnight in the fridge before using. For more pizza night ideas, explore our guide on creative dinner options here.
7. Variations and Substitutions
This recipe is adaptable to suit various preferences:
- Gluten-Free Option: Substitute all-purpose flour with a gluten-free flour blend designed for baking.
- Whole Wheat Alternative: Replace up to half of the all-purpose flour with whole wheat flour for a healthier crust.
- Instant Yeast: Swap active dry yeast with instant yeast, skipping the activation step and adding it directly to the dry ingredients.
These variations ensure everyone can enjoy homemade pizza. For more substitution ideas, check out our customizable recipes here.
8. Nutritional Information
Each serving of homemade Italian pizza dough (based on dough only, without toppings) contains approximately 200 calories. Here’s the macronutrient breakdown per serving:
- Carbohydrates: 40g
- Fats: 2g
- Proteins: 5g
Please note these values may vary slightly based on substitutions or portion sizes. Enjoy responsibly!
9. FAQs Section
Here are answers to some common questions about this recipe:
Q: Can I use bread flour instead of all-purpose flour?
Yes, bread flour creates a chewier crust due to its higher protein content, but all-purpose flour works perfectly well too.
Q: How do I know if my yeast is still active?
If the yeast mixture doesn’t foam after 5–10 minutes, it’s no longer active. Discard it and start again with fresh yeast.
Q: Can I make the dough ahead of time?
Absolutely! Store the dough in the refrigerator for up to 2 days or freeze it for longer storage. Thaw frozen dough overnight in the fridge before using.
Q: Why is my pizza dough tough?
Over-kneading or adding too much flour during mixing can make the dough tough. Stick to the recommended measurements and kneading time for best results.
10. Conclusion
Mastering the art of homemade Italian pizza dough is a rewarding experience that brings warmth and joy to any gathering. With its simple ingredients and traditional techniques, this dough sets the stage for endless creativity and delicious meals. Whether you’re crafting a classic Margherita or experimenting with bold toppings, homemade pizza is sure to delight.
We’d love to see your creations! Share your photos on social media using the hashtag #HomemadePizzaMagic and tag us for a chance to be featured. Have feedback or questions? Leave a comment below—we’re here to help! For more baking inspiration, explore our collection of dessert recipes here. Happy baking!
Print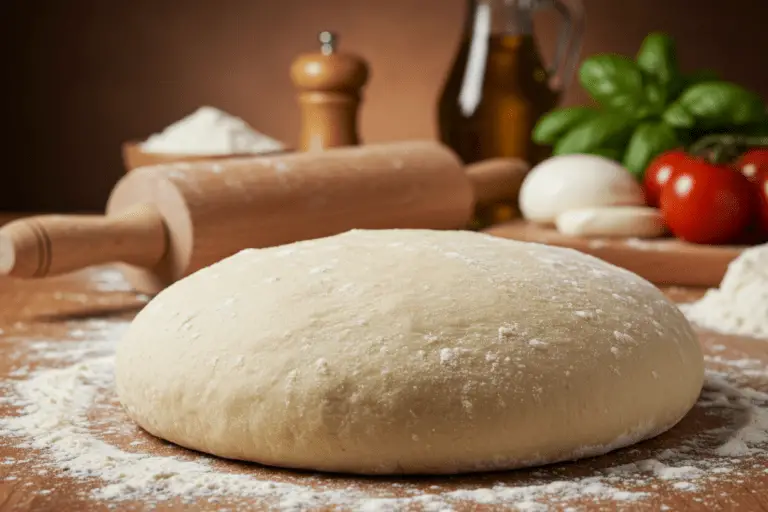
How to Perfect Your Homemade Italian Pizza Dough
Master the art of making authentic Italian pizza dough from scratch! This foolproof recipe creates a chewy yet crispy crust, perfect for classic Margherita, pepperoni, or creative toppings. Whether you’re hosting a DIY pizza night or simply craving a homemade pizza, this step-by-step guide ensures restaurant-quality results every time. 🍅🧀✨
- Total Time: 1 hour 30 minute
- Yield: 2 large pizzas or 4 individual pizzas 1x
Ingredients
For the Dough:
- 3 ½ cups all-purpose flour (plus extra for dusting)
- 1 packet (2 ¼ tsp) active dry yeast
- 1 ½ cups warm water (110°F/45°C)
- 2 tbsp olive oil
- 1 tsp salt
- 1 tsp sugar
Instructions
1. Activating the Yeast
- In a small bowl, mix warm water and sugar. Stir in the yeast and let sit for 5–10 minutes until frothy.
2. Mixing the Dough
- In a large bowl, combine flour and salt.
- Add the yeast mixture and olive oil. Stir until a shaggy dough forms.
3. Kneading the Dough
- Transfer the dough to a floured surface and knead for about 8–10 minutes until smooth and elastic.
- If the dough is sticky, sprinkle in a little more flour, one tablespoon at a time.
4. Rising the Dough
- Place the kneaded dough in a greased bowl and cover it with a damp towel.
- Let it rise in a warm place for 1–2 hours until doubled in size.
5. Shaping and Baking the Dough
- Punch down the risen dough and divide it into portions for individual or large pizzas.
- Roll out each portion into a thin, even crust.
- Preheat the oven to 475°F–500°F (245°C–260°C).
- Transfer the dough to a pizza stone or baking sheet. Add toppings.
- Bake for 10–15 minutes or until the crust is golden and crispy.
Notes
- Make-Ahead Option: Refrigerate the dough for up to 2 days or freeze for up to 3 months.
- For a Chewier Crust: Use bread flour instead of all-purpose flour.
- Extra Flavor Tip: Brush the crust with olive oil and garlic before baking.
- Prep Time: 15 minutes
- Rising Time: 1–2 hours
- Cook Time: 12 minutes
- Category: Bread, Pizza
- Method: Baked
- Cuisine: Italian
- Diet: Vegetarian