Italian Easter Cookies: A Sweet and Festive Treat 🐇🍪✨
Table of contents
1. Introduction

Celebrate Easter with Italian Easter Cookies, a cherished tradition in Italian-American households that brings sweetness and joy to the holiday season. These soft, buttery cookies are often adorned with colorful glaze and sprinkles, making them a festive centerpiece for family gatherings, potlucks, or thoughtful homemade gifts. Their delicate texture and bright flavors capture the essence of springtime, while their decorative presentation embodies the celebratory spirit of Easter.
To learn more about the rich cultural traditions behind Italian Easter celebrations, visit this link. For tips on crafting smooth and glossy cookie glazes, explore our guide on perfect glazing techniques here.
2. What Are Italian Easter Cookies?
Italian Easter Cookies are beloved for their soft, cake-like texture, subtle citrus flavor, and vibrant decorative glaze. Often topped with sprinkles or sanding sugar, these cookies embody the festive spirit of Easter with their cheerful colors and celebratory presentation. They’re not only delicious but also versatile—perfect for dessert trays, gifting, or enjoying alongside coffee or tea during the holiday season.
For more traditional Italian desserts, browse our collection of holiday baking inspiration here.
3. Ingredients List (Exact Measurements)
To create these delightful Italian Easter Cookies, gather the following ingredients:
For the Cookies:
- 4 cups all-purpose flour
- 1 teaspoon baking powder
- ½ teaspoon salt
- 1 cup unsalted butter (softened)
- 1 ½ cups granulated sugar
- 4 large eggs
- 1 teaspoon vanilla extract
- Zest of 1 lemon (optional, for added brightness)
For the Glaze:
- 2 cups powdered sugar
- 2–3 tablespoons milk (or lemon juice for tanginess)
- 1 teaspoon vanilla extract
- Optional: food coloring, sprinkles, or sanding sugar
These carefully selected ingredients ensure your cookies will be both flavorful and visually stunning. For more ingredient ideas, explore our guide on decorative sweets here.
4. Step-by-Step Instructions
Making the Dough

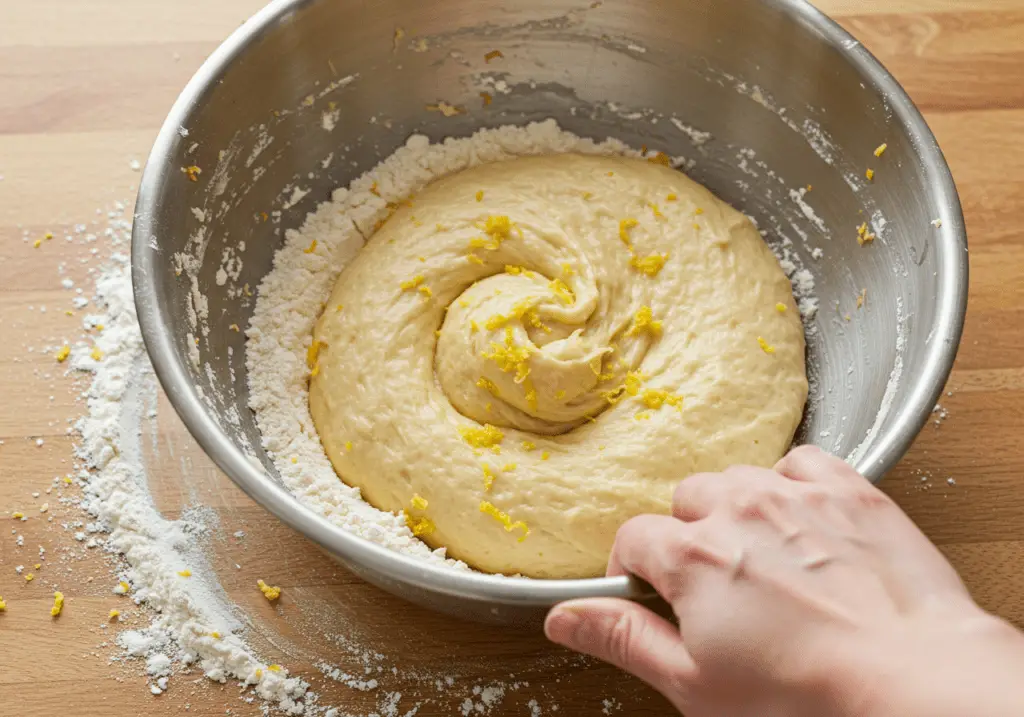
In a medium bowl, whisk together 4 cups of all-purpose flour, 1 teaspoon of baking powder, and ½ teaspoon of salt. In a separate large bowl, cream 1 cup of softened butter and 1 ½ cups of granulated sugar until light and fluffy. Beat in 4 large eggs one at a time, then mix in 1 teaspoon of vanilla extract and the zest of 1 lemon (if using). Gradually add the dry ingredients to the wet ingredients, mixing until a soft dough forms. Chill the dough in the refrigerator for 30 minutes to make it easier to handle. For dough-making tips, visit our guide on baking basics here.
Shaping the Cookies

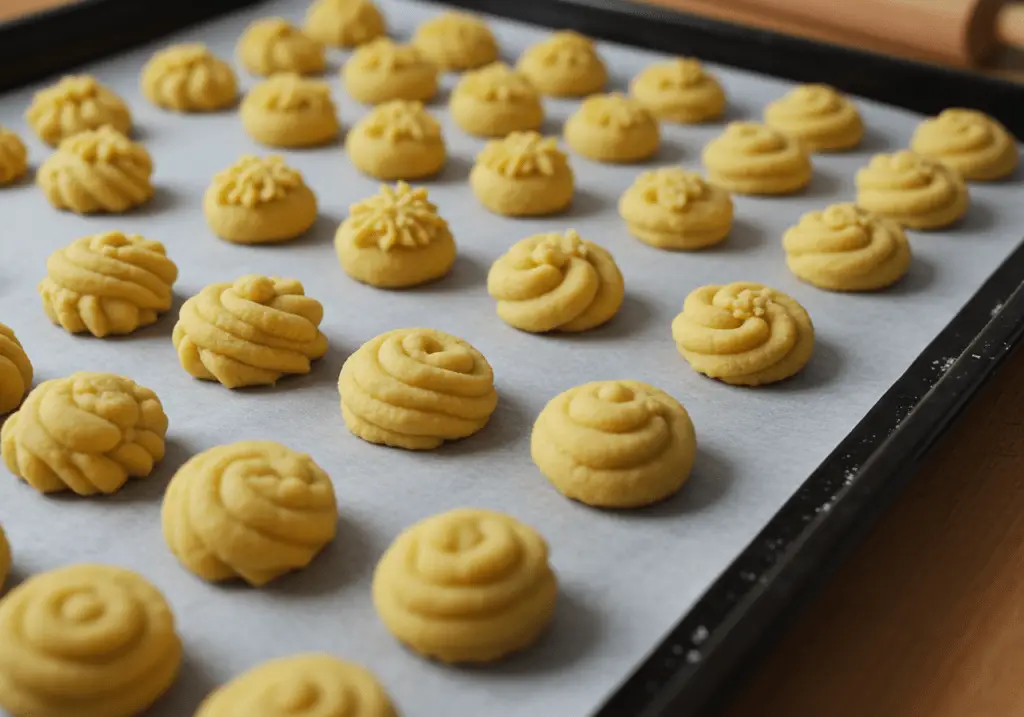
Preheat your oven to 350°F (175°C) and line baking sheets with parchment paper. Roll tablespoons of dough into balls and place them on the prepared sheets, spacing them about 2 inches apart. Flatten each ball slightly with the palm of your hand or the bottom of a glass. Bake for 10–12 minutes or until the edges are lightly golden. Let the cookies cool completely on wire racks before glazing. For shaping advice, browse our collection of easy baking projects here.
Preparing the Glaze

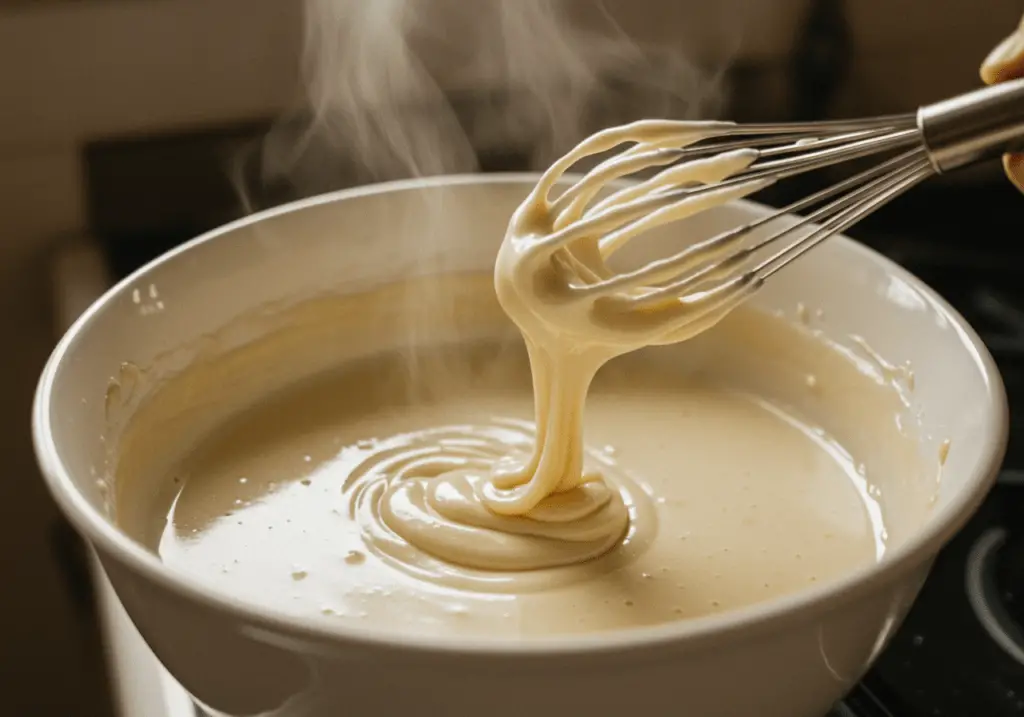
In a mixing bowl, whisk together 2 cups of powdered sugar, 2–3 tablespoons of milk (or lemon juice), and 1 teaspoon of vanilla extract until smooth. Add more liquid for a thinner glaze or more sugar for a thicker consistency. If desired, divide the glaze into separate bowls and tint with food coloring for a festive touch. For glazing inspiration, explore our resource on perfect glazes here.
Decorating the Cookies

Dip the tops of the cooled cookies into the glaze or drizzle it over them using a spoon. Add sprinkles, sanding sugar, or other decorations while the glaze is still wet. Let the glaze set for at least 30 minutes before serving or storing. For decoration ideas, check out our guide on themed treats here.
5. Customizing Your Cookies
To make your Italian Easter Cookies truly unique, consider these customizations:
- Flavor Variations: Swap lemon zest for orange or almond extract for a different flavor profile.
- Glaze Ideas: Experiment with glaze flavors like chocolate, coconut, or espresso for variety.
- Holiday Themes: Use themed sprinkles or edible glitter for holidays like Christmas or Valentine’s Day.
- Gluten-Free Option: Substitute all-purpose flour with a gluten-free flour blend for a safe alternative.
These tweaks ensure the recipe suits diverse tastes and dietary needs. For more customization ideas, check out our creative swaps here.
6. Serving Suggestions

These cookies shine when served alongside other Easter desserts like cannoli or ricotta pie for a traditional Italian spread. Pair them with coffee, tea, or hot chocolate for an afternoon treat, or package them in decorative boxes or bags for thoughtful homemade gifts. For more pairing ideas, browse our collection of springtime sweets here.
7. Variations and Substitutions
This recipe is highly adaptable:
- Vegan Option: Use plant-based butter, egg substitutes, and dairy-free milk for the glaze.
- Sweetener Swap: Substitute granulated sugar with maple syrup or another liquid sweetener, adjusting the dry ingredients as needed.
- Mini Cakes: Flatten the cookies less and top with a dollop of whipped cream for a mini cake effect.
These variations ensure everyone can enjoy the dish. For more substitution ideas, check out our healthy swaps here.
8. Nutritional Information
Each Italian Easter Cookie contains approximately 150 calories. Here’s the macronutrient breakdown per cookie:
- Carbohydrates: 20g
- Fats: 7g
- Proteins: 2g
Please note these values may vary slightly based on portion sizes and specific ingredients used. Enjoy responsibly!
9. FAQs Section
Here are answers to some common questions about this recipe:
Q: Can I freeze these cookies?
Yes, freeze unglazed cookies in an airtight container for up to 3 months. Glaze after thawing for the best results.
Q: Why did my cookies spread too much?
Overly softened butter or skipping the chilling step can cause cookies to spread. Ensure the butter is softened but not melted, and chill the dough before baking.
Q: Can I make the dough ahead of time?
Absolutely! Refrigerate the dough for up to 2 days or freeze for longer storage. Thaw frozen dough in the fridge overnight before shaping and baking.
Q: How do I store leftover cookies?
Store in an airtight container at room temperature for up to 5 days. Avoid stacking glazed cookies without parchment paper between layers to prevent sticking.
10. Conclusion
Making Italian Easter Cookies is a simple yet rewarding way to celebrate the Easter season with a touch of Italian tradition. With their soft texture, bright flavors, and endless customization options, these cookies are sure to become a staple in your kitchen. Whether you stick to the original recipe or experiment with your own twists, this treat promises to delight everyone who tries it.
We’d love to see your creations! Share your photos on social media using the hashtag #ItalianEasterCookies and tag us for a chance to be featured. Have feedback or questions? Leave a comment below—we’re here to help! For more easy baking recipes, explore our collection of festive dessert ideas here. Happy baking! 🐇🍪✨
Print
Italian Easter Cookies
Celebrate Easter with these traditional Italian Easter Cookies—soft, buttery, and topped with a sweet glaze. Perfect for family gatherings or gifting! 🎀🍴
- Total Time: 1 hour 30 minutes (including chilling and glazing)
- Yield: 24 cookies 1x
Ingredients
- For the Cookies:
- 4 cups all-purpose flour
- 1 tsp baking powder
- ½ tsp salt
- 1 cup unsalted butter (softened)
- 1 ½ cups granulated sugar
- 4 large eggs
- 1 tsp vanilla extract
- Zest of 1 lemon (optional, for added brightness)
- For the Glaze:
- 2 cups powdered sugar
- 2–3 tbsp milk (or lemon juice for tanginess)
- 1 tsp vanilla extract
- Optional: food coloring, sprinkles, or sanding sugar
Instructions
- Making the Dough: In a bowl, whisk together flour, baking powder, and salt. In a separate large bowl, cream the softened butter and sugar until light and fluffy. Beat in the eggs one at a time, then mix in the vanilla extract and lemon zest. Gradually add the dry ingredients to the wet ingredients, mixing until a soft dough forms. Chill the dough for 30 minutes to make it easier to handle.
- Shaping the Cookies: Preheat the oven to 350°F (175°C) and line baking sheets with parchment paper. Roll tablespoons of dough into balls and place them on the prepared sheets, spacing them about 2 inches apart. Flatten each ball slightly with the palm of your hand or the bottom of a glass. Bake for 10–12 minutes or until the edges are lightly golden. Let cool completely on wire racks.
- Preparing the Glaze: In a mixing bowl, whisk together powdered sugar, milk (or lemon juice), and vanilla extract until smooth. Add more liquid for a thinner glaze or more sugar for a thicker consistency. Divide the glaze into separate bowls if using food coloring and tint as desired.
- Decorating the Cookies: Dip the tops of the cooled cookies into the glaze or drizzle it over them using a spoon. Add sprinkles, sanding sugar, or other decorations while the glaze is still wet. Let the glaze set for at least 30 minutes before serving or storing.
Notes
- For a vegan option, use plant-based butter, egg substitutes, and dairy-free milk for the glaze.
- Gluten-free alternative: Substitute all-purpose flour with a gluten-free flour blend.
- Storage tip: Store in an airtight container at room temperature for up to 5 days or freeze unglazed cookies for longer storage.
- Prep Time: 30 minutes
- Cook Time: 12 minutes per batch
- Category: Dessert
- Method: Baking
- Cuisine: Italian-American
Nutrition
- Serving Size: 1 cookie (1/24th of the recipe)
- Calories: 180 kcal
- Sugar: 16 g
- Sodium: 60 mg
- Fat: 7 g
- Saturated Fat: 4 g
- Unsaturated Fat: 2 g
- Trans Fat: 0 g
- Carbohydrates: 26 g
- Fiber: 0 g
- Protein: 2 g
- Cholesterol: 30 mg

