Fresh Homemade Pickles: Crispy, Tangy, and Ready in Days 


Table of contents
1. Introduction
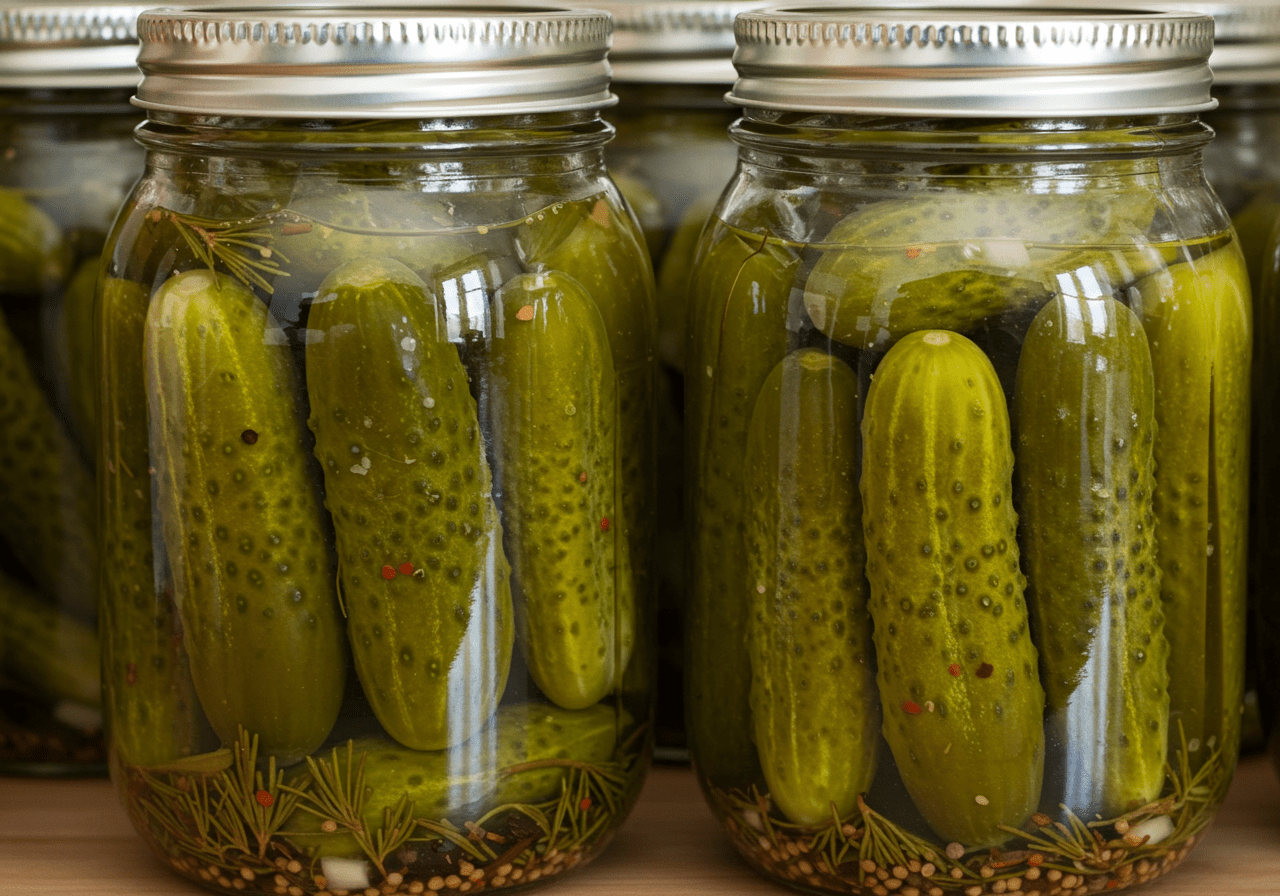
There’s something deeply satisfying about making a fresh batch of homemade pickles. Whether you’re preserving cucumbers or experimenting with other vegetables, pickling is a simple yet rewarding way to enjoy crisp, tangy flavors year-round. Unlike store-bought versions, homemade pickles let you control the crunchiness, spice levels, and overall taste without artificial preservatives.

These pickles are perfect as a healthy snack, sandwich garnish, charcuterie board addition, or thoughtful gift for friends and family. Dive deeper into the science of pickling by visiting this link. For tips on achieving perfectly crunchy pickles, explore our guide on crispy techniques here.
2. What Are Homemade Pickles?
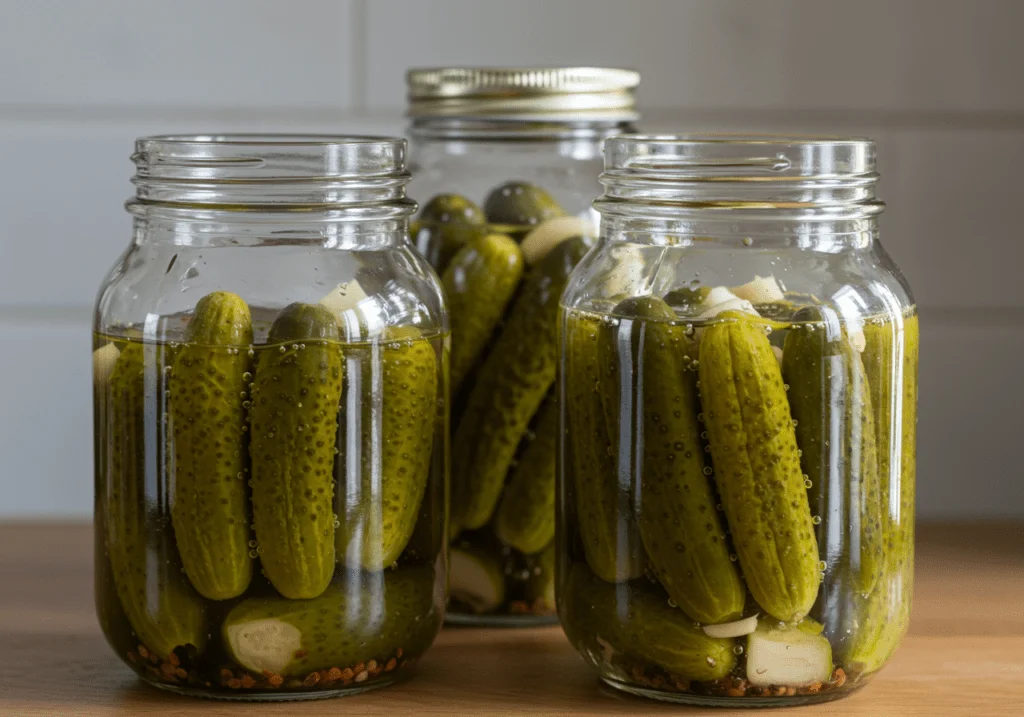
Homemade pickles are a delightful combination of fresh vegetables soaked in a tangy brine infused with herbs and spices. Their crisp texture and customizable flavors make them stand out from mass-produced options. While fermented pickles rely on natural bacteria for preservation, quick pickles (refrigerator pickles) use vinegar-based brines for faster results—perfect for beginners.
These versatile treats can be enjoyed as snacks, added to sandwiches, paired with grilled meats, or used to elevate charcuterie boards. From classic dill to spicy garlic variations, there’s no limit to the flavor combinations you can create. For more inspiration, browse our collection of seasonal vegetable recipes here.
3. Ingredients List (Exact Measurements)
To create this delicious fresh batch of homemade pickles, gather the following ingredients:
For the Brine:
- 1 cup water
- 1 cup white vinegar (or apple cider vinegar for a milder flavor)
- 1 tablespoon kosher salt
- 2 tablespoons sugar (optional, for sweetness)
For the Pickles:
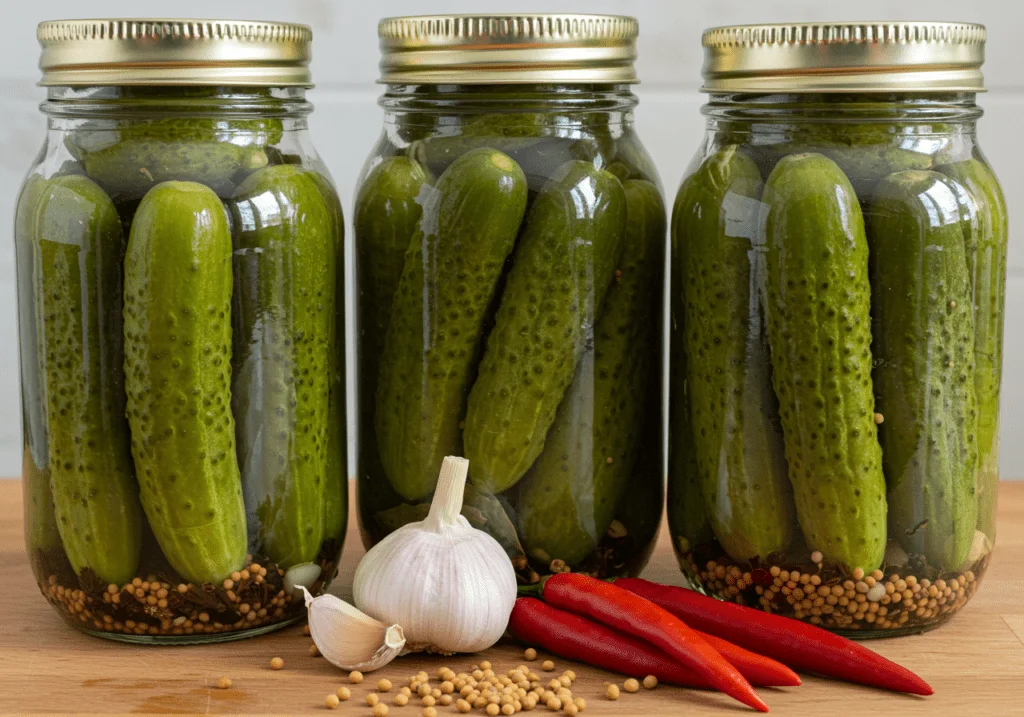
- 4–6 small cucumbers (pickling cucumbers preferred)
- 4–6 garlic cloves (peeled, optional)
- 2–3 sprigs fresh dill (or 1 teaspoon dill seeds)
- 1 teaspoon black peppercorns
- 1 teaspoon mustard seeds
- Optional: red pepper flakes, bay leaves, or coriander seeds
These high-quality ingredients ensure your pickles will have a balanced blend of tanginess, crunch, and aroma. For more ingredient ideas, explore our guide on healthy snacks here.
4. Step-by-Step Instructions
Preparing the Vegetables
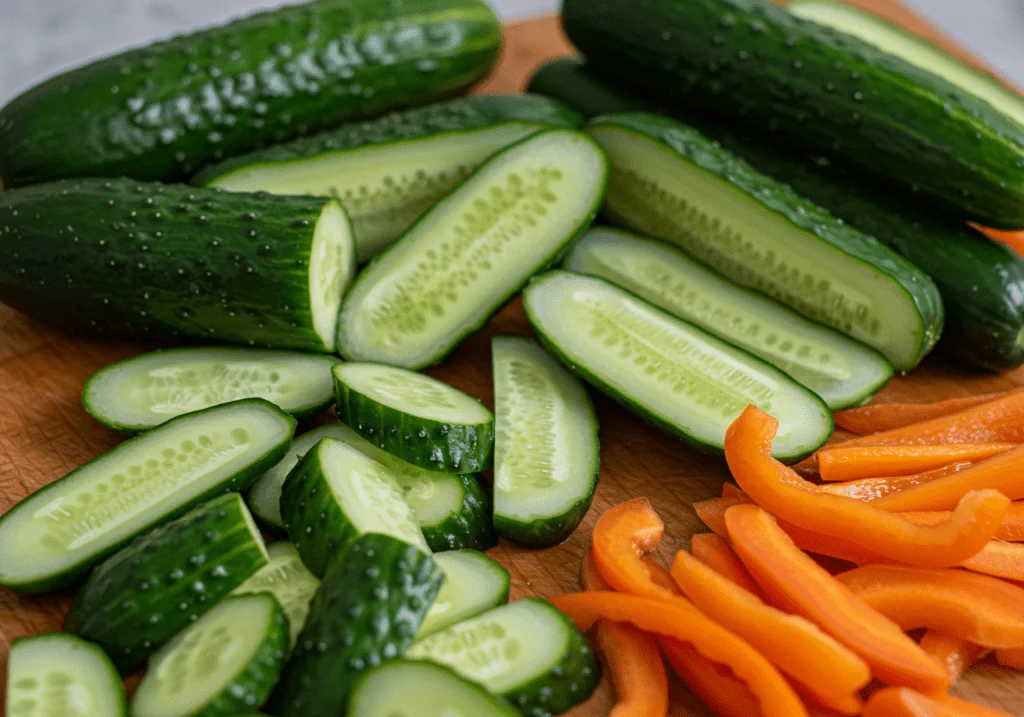
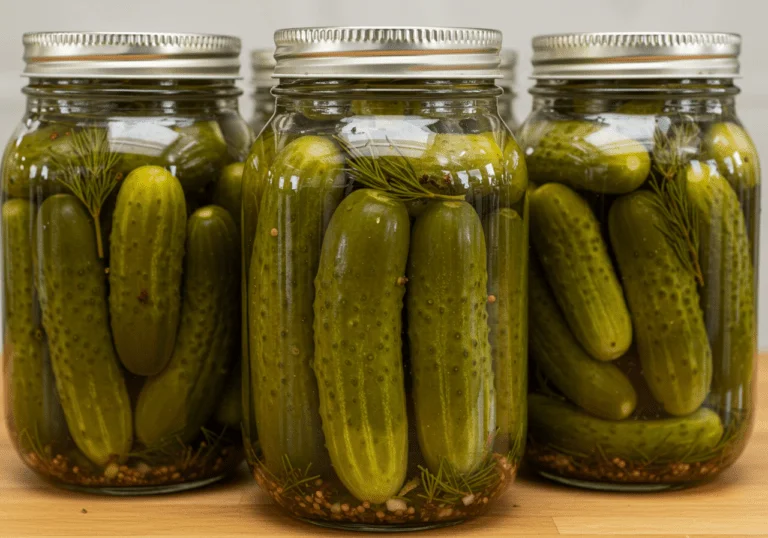
Start by washing 4–6 small cucumbers thoroughly under cold running water. Slice them into spears, chips, or leave them whole depending on your preference. Trim off the blossom end of each cucumber, as it contains enzymes that can make pickles soft. Pack the cucumbers tightly into sterilized jars along with peeled garlic cloves, fresh dill sprigs (or dill seeds), black peppercorns, mustard seeds, and any additional spices like red pepper flakes or bay leaves. For more slicing tips, visit our guide on knife skills here.
Making the Brine
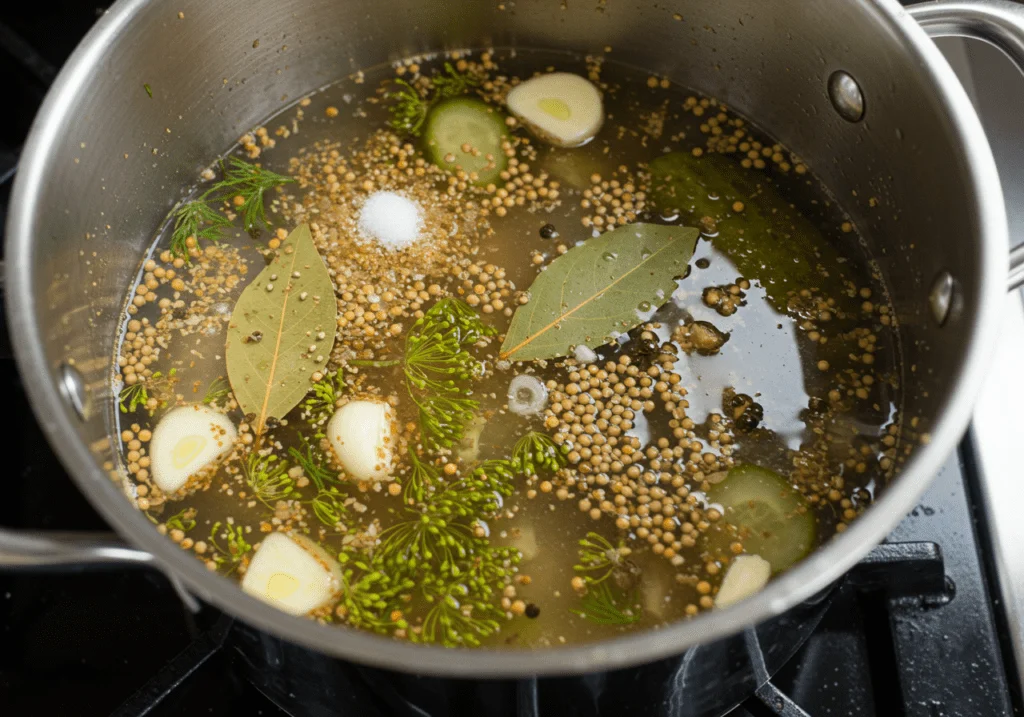
In a medium saucepan, combine 1 cup of water, 1 cup of white vinegar (or apple cider vinegar), 1 tablespoon of kosher salt, and 2 tablespoons of sugar (if using). Heat over medium heat, stirring until the salt and sugar dissolve completely. Once dissolved, remove the brine from heat and let it cool slightly before pouring it over the packed cucumbers in the jars. Ensure the cucumbers are fully submerged, leaving about ½ inch of headspace at the top of the jar to allow for expansion during storage. For more brining techniques, explore our guide on pickling science here.
Sealing and Storing
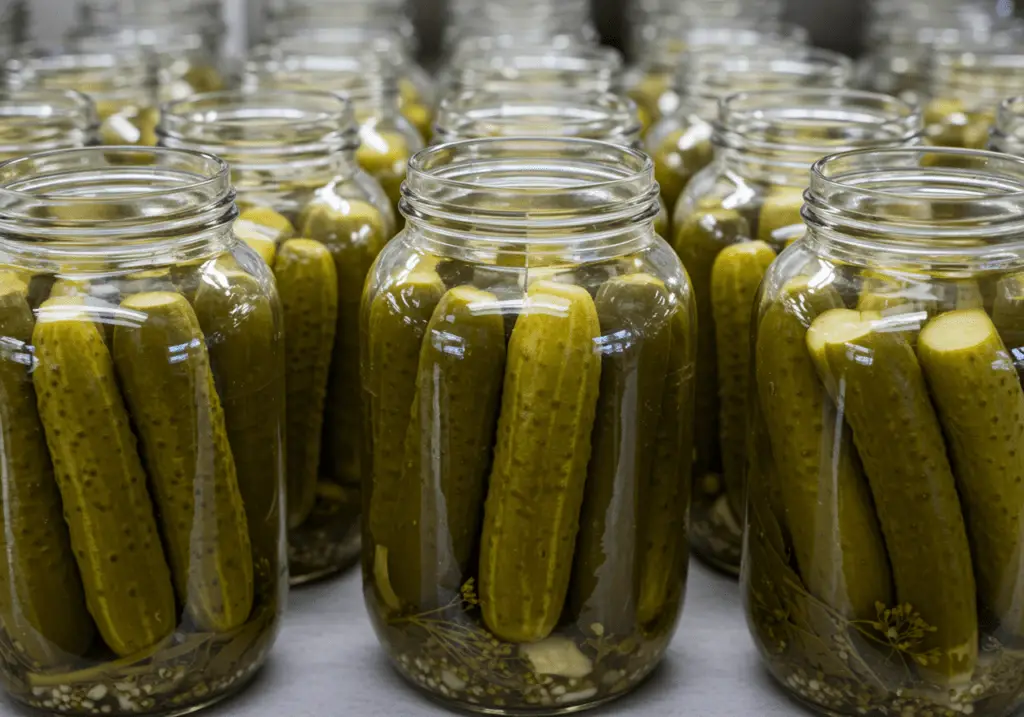
Seal the jars tightly with their lids and let them cool to room temperature. Place the jars in the refrigerator and allow the flavors to meld for at least 24–48 hours before enjoying. Properly sealed quick pickles will last up to 2 months in the fridge. For those interested in fermentation, omit the heating step and use a 2% salt brine (e.g., 20g salt per 1 liter of water). Let the jars sit at room temperature for 3–7 days, burping daily to release gas. Once fermented, refrigerate to slow the process. For more storage tips, browse our collection of easy canning projects here.
Optional Fermentation
If you’d like to try fermenting your pickles, prepare a 2% salt brine by dissolving 20 grams of salt in 1 liter of filtered water. Pour the brine over the packed cucumbers, ensuring they remain submerged. Cover the jars loosely with lids or airlock lids to allow gases to escape during fermentation. Store the jars at room temperature for 3–7 days, tasting periodically until the desired level of sourness is achieved. Once ready, transfer the jars to the refrigerator to halt fermentation. For more fermentation guidance, explore our guide on fermented vegetables here.
5. Customizing Your Pickles
To personalize your homemade pickles, consider these customizations:
- Different Vegetables: Try carrots, green beans, radishes, or cauliflower for variety.
- Spice Levels: Add more red pepper flakes or smoked paprika for extra heat and depth.
- Unique Flavors: Experiment with curry spices, citrus zest, or fresh ginger for an exotic twist.
- Natural Sweeteners: Swap sugar for honey or maple syrup for a healthier alternative.
These tweaks ensure your pickles suit diverse tastes and preferences. For more customization ideas, check out our creative recipes here.
6. Serving Suggestions
These pickles shine when served alongside burgers, sandwiches, or grilled meats. They also make excellent additions to charcuterie boards, pairing beautifully with cheeses and cured meats. Don’t discard the pickle juice—it’s great as a marinade for chicken or tofu or as a base for cocktails like Bloody Marys. To maximize shelf life, ensure jars are sealed properly and stored upright in the fridge. For more serving ideas, explore our guide on snack inspirations here.
7. Variations and Substitutions
This recipe is highly adaptable:
- Low-Sodium Option: Reduce or omit salt and use low-sodium soy sauce or tamari if needed.
- Vegan-Friendly: All ingredients are naturally plant-based.
- Vinegar Substitutes: Use rice vinegar for a sweeter brine or champagne vinegar for a lighter flavor.
These variations ensure everyone can enjoy the dish. For more substitution ideas, check out our DIY guides here.
8. Nutritional Information
Each serving of homemade pickles (approximately 1 spear or chip) contains approximately 10 calories. Here’s the macronutrient breakdown per serving:
- Carbohydrates: 2g
- Fats: 0g
- Proteins: 0g
Please note these values may vary slightly based on portion sizes and specific ingredients used. Enjoy responsibly!
9. FAQs Section
Here are answers to some common questions about this recipe:
Q: Can I use regular cucumbers instead of pickling cucumbers?
Yes, but regular cucumbers tend to be less crisp due to higher water content. Soaking them in ice water for 1–2 hours before pickling can help improve texture.
Q: Why are my pickles soft instead of crunchy?
Ensure you trim the blossom end of the cucumbers, use fresh produce, and avoid overcooking the brine. Adding grape leaves or alum to the brine can also enhance crispiness.
Q: How long do homemade pickles last?
Quick pickles will keep in the fridge for up to 2 months; fermented pickles last longer if stored properly in the refrigerator.
Q: Can I reuse the pickle brine?
Absolutely! Reuse the brine for a second batch of pickles or repurpose it as a salad dressing base or marinade.
10. Conclusion
Making a fresh batch of homemade pickles is a simple yet rewarding way to enjoy vibrant, tangy flavors while preserving seasonal produce. With endless possibilities for customization—from different vegetables and spices to unique flavor profiles—these pickles are sure to become a pantry staple. Whether you stick to the classic recipe or experiment with your own twists, they promise to delight everyone who tries them.
We’d love to see your creations! Share your photos on social media using the hashtag #HomemadePicklesMagic and tag us for a chance to be featured. Have feedback or questions? Leave a comment below—we’re here to help! For more flavorful recipes, explore our collection of seasonal preserves here. Happy pickling!
Made a fresh batch of homemade pickles
Learn how to make homemade pickles with this easy recipe. Perfectly crisp, tangy, and customizable—these pickles are a pantry staple! Whether you’re a beginner or an experienced home cook, this guide covers everything from brine preparation to flavor customization.
- Total Time: 30 minutes (plus chilling/fermentation time)
- Yield: 1–2 jars (depending on size) 1x
Ingredients
- 1 cup water
- 1 cup white vinegar (or apple cider vinegar for a milder flavor)
- 1 tbsp kosher salt
- 2 tbsp sugar (optional, for sweetness)
- 4–6 small cucumbers (pickling cucumbers preferred)
- 4–6 garlic cloves (peeled, optional)
- 2–3 sprigs fresh dill (or 1 tsp dill seeds)
- 1 tsp black peppercorns
- 1 tsp mustard seeds
- Optional: red pepper flakes, bay leaves, or coriander seeds
Instructions
- Wash and slice cucumbers into spears, chips, or leave them whole for classic pickles. Trim off the blossom end to ensure crispiness. Pack cucumbers tightly into sterilized jars along with garlic, dill, peppercorns, and mustard seeds.
- Combine water, vinegar, salt, and sugar in a saucepan over medium heat. Stir until the salt and sugar dissolve completely. Remove from heat and let cool slightly.
- Pour the warm brine over the cucumbers, ensuring they’re fully submerged. Leave about ½ inch of headspace at the top of the jar.
- Seal the jars tightly and let them cool to room temperature. Place in the refrigerator for at least 24–48 hours before enjoying for optimal flavor infusion. Quick pickles will keep in the fridge for up to 2 months.
- For fermented pickles, omit the cooking step and use a 2% salt brine (e.g., 20g salt per 1 liter of water). Let the jars sit at room temperature for 3–7 days, burping daily to release gas. Once fermented, refrigerate to slow the process.
Notes
- For low-sodium options, reduce or omit salt and use low-sodium soy sauce or tamari if needed.
- Experiment with vegetables like carrots, green beans, radishes, or cauliflower for variety.
- Reuse pickle brine for a second batch or as a base for salad dressings and marinades.
- Ensure jars are sterilized properly to prevent spoilage during storage.
- Quick pickles last up to 2 months in the fridge; fermented pickles last longer when refrigerated.
- Prep Time: 20 minutes
- Cook Time: 10 minutes
- Category: Preserving
- Method: Pickling
- Cuisine: American-Inspired
Nutrition
- Serving Size: 1 spear or chip (approx. 30g)
- Calories: 15 kcal
- Sugar: 2 g
- Sodium: 300 mg
- Fat: 0 g
- Saturated Fat: 0 g
- Unsaturated Fat: 0 g
- Trans Fat: 0 g
- Carbohydrates: 3 g
- Fiber: 0 g
- Protein: 0 g
- Cholesterol: 0 mg