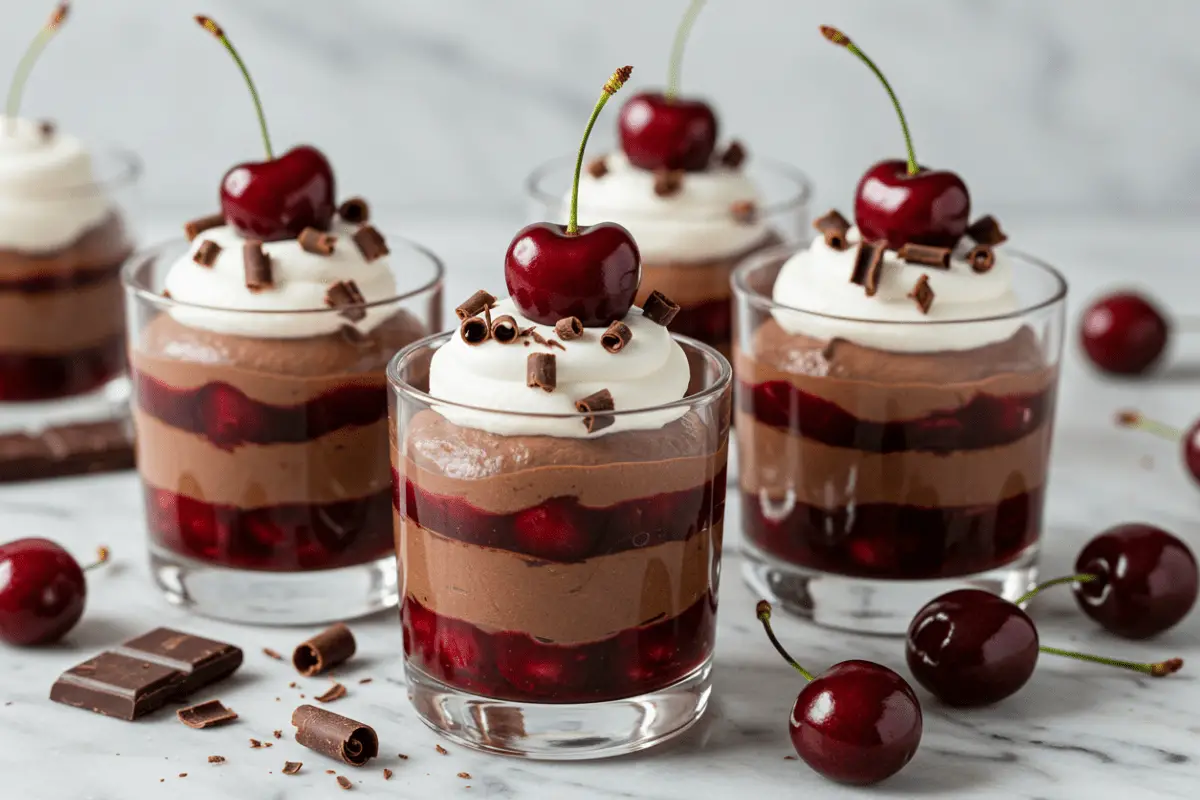
No-Bake Cherry + Choc Mousse Cups: A Decadent, Effortless Dessert 🍒🍫✨
Table of contents
1. Introduction
No-bake desserts are a lifesaver for busy bakers, offering the perfect balance of ease and elegance without the need to turn on the oven. These No-Bake Cherry + Choc Mousse Cups take the concept to new heights, combining rich, velvety chocolate mousse with tangy cherry filling for a dessert that’s as indulgent as it is effortless. Whether you’re hosting a holiday gathering, planning a romantic dinner, or simply craving something sweet, these mousse cups are sure to impress.
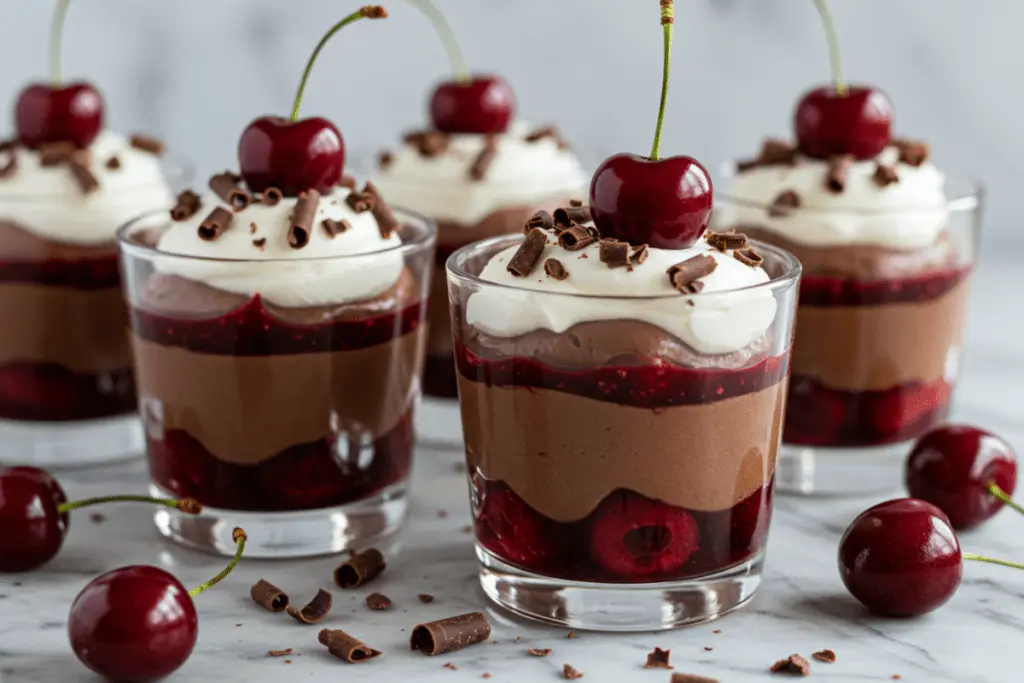
The combination of chocolate and cherries is a timeless classic, evoking feelings of luxury and nostalgia. Best of all, this recipe requires minimal effort and no baking, making it an ideal choice for last-minute treats or stress-free entertaining. Dive deeper into the world of no-bake desserts by visiting this link. For more decadent dessert ideas, explore our collection of layered desserts here.
2. What Are No-Bake Cherry + Choc Mousse Cups?
No-Bake Cherry + Choc Mousse Cups are a show-stopping dessert featuring creamy layers of chocolate mousse and vibrant cherry filling, topped with fresh cherries or chocolate shavings for an elegant finish. The chocolate mousse is rich and airy, while the cherry filling adds a burst of tartness that balances the sweetness perfectly. These mousse cups are not only quick to prepare but also require no special equipment or advanced baking skills.
Their simplicity and versatility make them suitable for any occasion—whether it’s a themed party, a cozy family dessert night, or an intimate romantic meal. Plus, they can be made ahead of time, saving you valuable prep time when hosting guests. For tips on creating silky-smooth chocolate ganache, check out our guide on perfecting chocolate techniques here.
3. Ingredients List (Exact Measurements)
To create these decadent No-Bake Cherry + Choc Mousse Cups, gather the following ingredients:
For the Chocolate Mousse Layer:
- 1 cup heavy whipping cream
- 8 oz semi-sweet chocolate chips (melted and cooled slightly)
- 2 tablespoons powdered sugar
- 1 teaspoon vanilla extract
For the Cherry Filling:
- 1 cup canned cherry pie filling (or homemade if preferred)
- 1 teaspoon lemon juice (optional, to enhance flavor)
The Assembly:
- 1 cup whipped cream (for piping, optional)
- Fresh cherries or chocolate shavings (for garnish)
These simple yet high-quality ingredients ensure your mousse cups will be as delicious as they are visually stunning. For more dessert inspiration, browse our guide on holiday desserts here.
4. Step-by-Step Instructions
Making the Chocolate Mousse
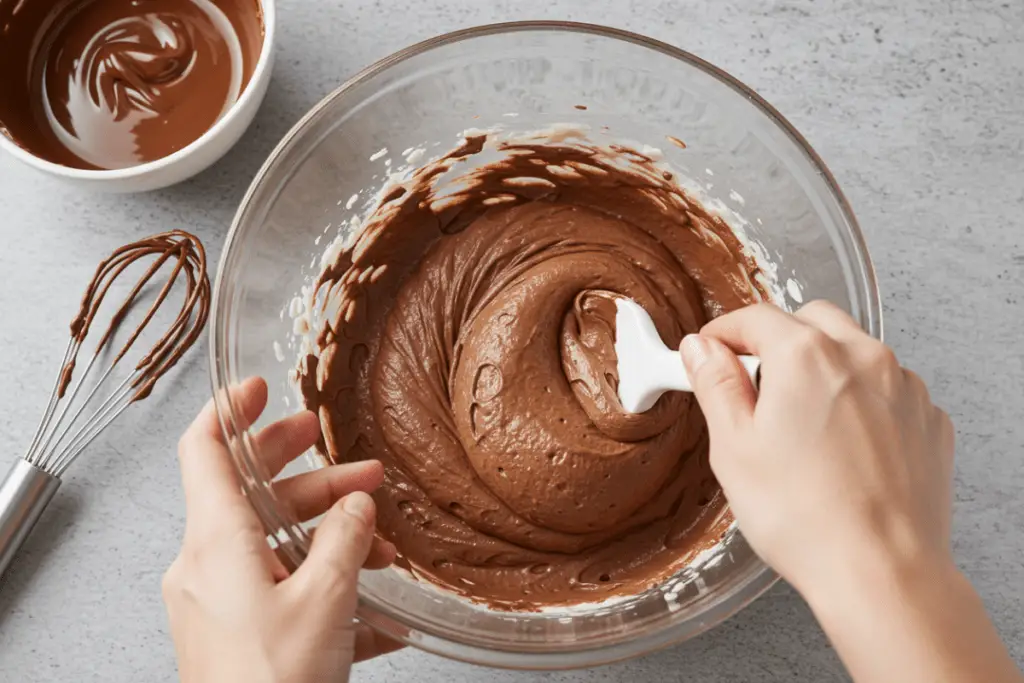
Begin by whipping 1 cup of heavy cream in a chilled bowl until stiff peaks form. This ensures a light and airy texture for your mousse. In a separate bowl, melt 8 oz of semi-sweet chocolate chips and let them cool slightly. Gently fold the melted chocolate into the whipped cream along with 2 tablespoons of powdered sugar and 1 teaspoon of vanilla extract. Be careful not to overmix, as this can deflate the mixture. Chill the mousse for 15–20 minutes to allow it to set slightly before assembling. For more tips on whipping cream, explore our guide on whipped cream techniques here.
Preparing the Cherry Filling
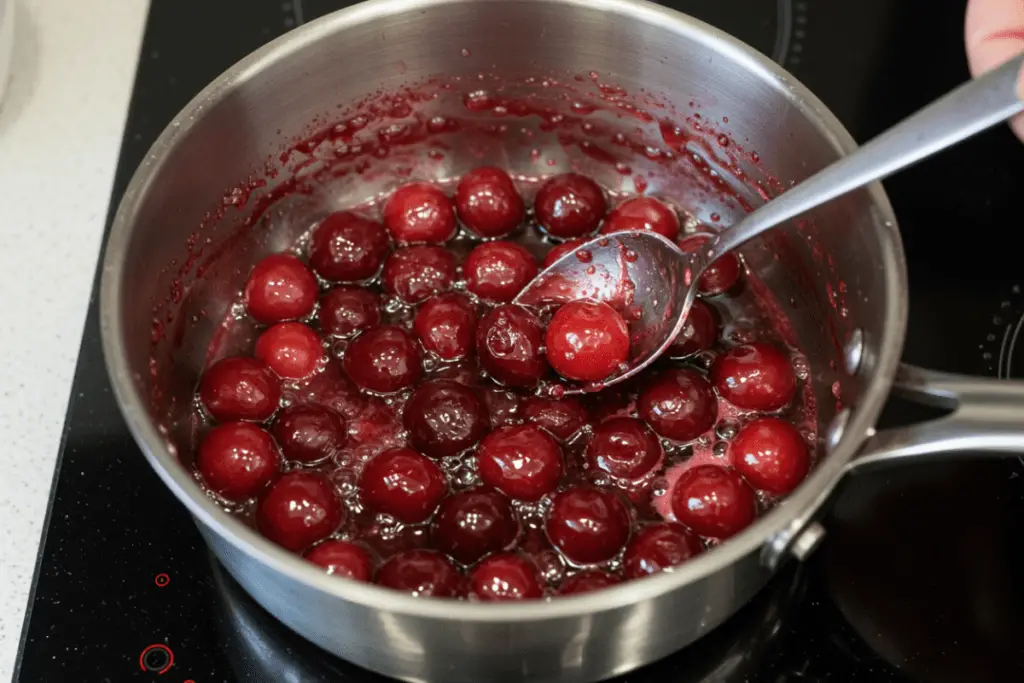
If using canned cherry pie filling, stir in 1 teaspoon of lemon juice to enhance the natural tartness of the cherries. If making homemade filling, combine 1 cup of fresh or frozen cherries, 2 tablespoons of sugar, 1 tablespoon of cornstarch, and ¼ cup of water in a saucepan. Simmer over medium heat, stirring constantly, until the mixture thickens, about 5–7 minutes. Let the filling cool completely before using. For more fruit-based dessert ideas, visit our guide on fruit recipes here.
Assembling the Cups
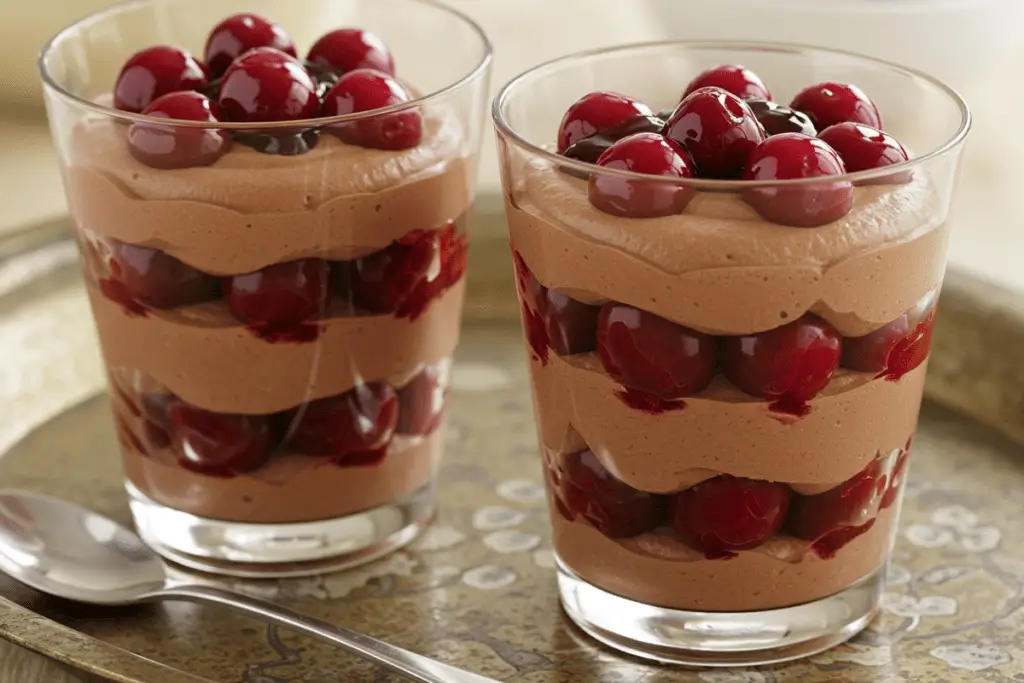
Spoon a layer of chocolate mousse into small serving cups or glasses, filling each about halfway. Add a dollop of cherry filling on top of the mousse, spreading it evenly. Repeat the layers, finishing with a final swirl of chocolate mousse. For an elegant touch, pipe additional whipped cream on top using a piping bag fitted with a star tip. Garnish with fresh cherries, chocolate shavings, or sprinkles for a pop of color and texture. For more assembly tips, explore our guide on decorating desserts here.
Chilling the Cups
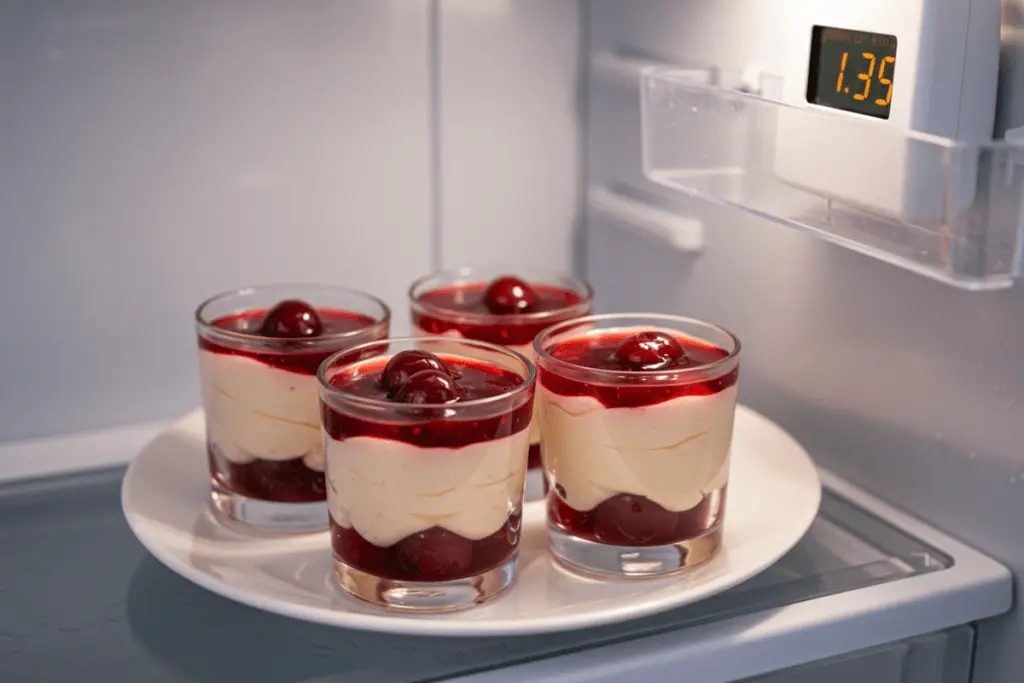
Refrigerate the assembled mousse cups for at least 1 hour to allow the flavors to meld and the textures to set. This step ensures a smooth, cohesive bite when serving. Once chilled, arrange the cups on a platter decorated with fairy lights or themed props for parties and gatherings. These thoughtful touches elevate the overall presentation and make your dessert stand out. For more chilling tips, browse our collection of make-ahead desserts here.
5. Decorating Your Mousse Cups
To truly bring your No-Bake Cherry + Choc Mousse Cups to life, focus on the details. Use piped whipped cream for an elegant finish, swirling it generously on top of each cup. Add fresh cherries, chocolate curls, or sprinkles for visual appeal. Experiment with different garnishes like mint leaves or edible glitter for a festive touch that matches the occasion.
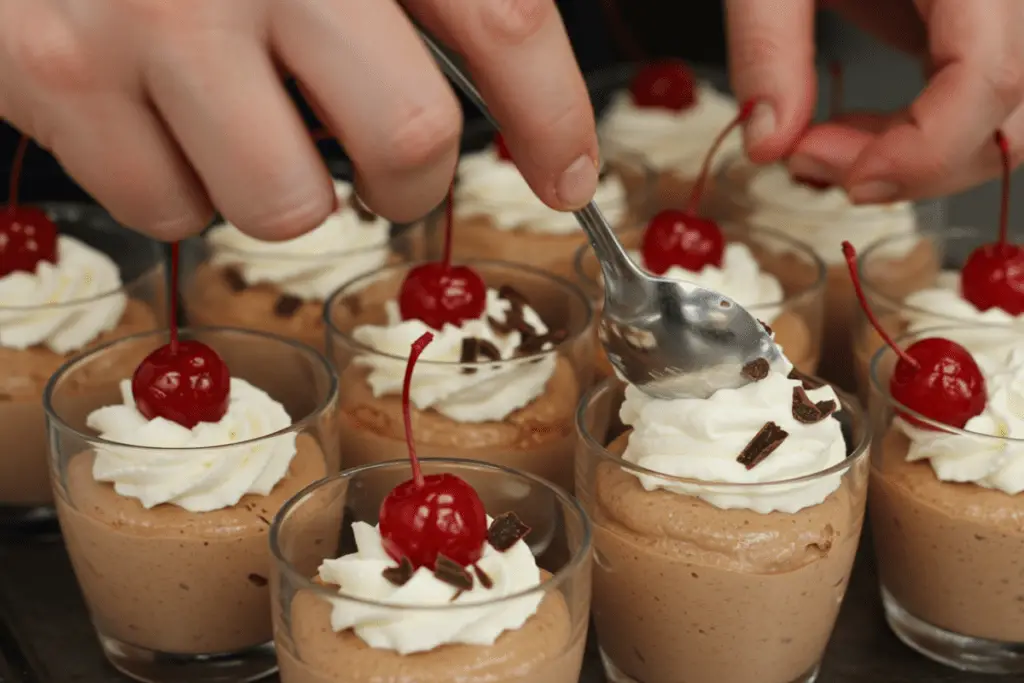
For an extra-special presentation, serve the mousse cups in clear glassware to showcase their beautiful layers. Arrange them on a tray surrounded by greenery or candles for a sophisticated display. These small details make your dessert Instagram-worthy and memorable. For more decorating ideas, explore our guide on elegant dessert presentations here.
6. Serving Suggestions
These magical mousse cups pair beautifully with coffee, tea, or sparkling wine for an elevated dessert experience. They’re perfect for serving at dinner parties, holiday gatherings, or romantic meals where guests can indulge in a decadent treat. For a thoughtful gift, package the cups in decorative boxes or jars for friends and family to enjoy.
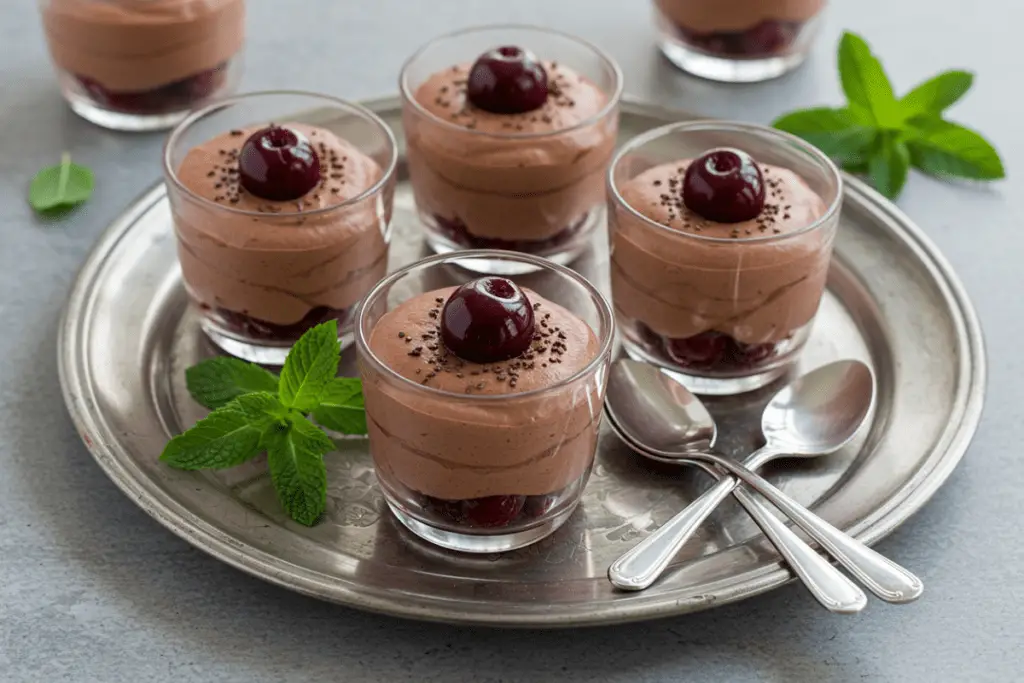
To store leftovers, keep the mousse cups covered in the refrigerator for up to 2 days. Assemble them ahead of time and add garnishes just before serving to maintain freshness and texture. Freezing is not recommended, as the texture may change upon thawing. For more serving ideas, browse our collection of party desserts here.
7. Variations and Substitutions
This recipe is adaptable to suit various preferences:
- Gluten-Free Option: Ensure all ingredients, such as chocolate chips, are certified gluten-free.
- Vegan Alternative: Use coconut cream instead of heavy cream and dairy-free chocolate chips for a plant-based version.
- Fruit Substitution: Swap cherry filling with other fruits like raspberries, strawberries, or mangoes for a different flavor profile.
These variations ensure everyone can enjoy the magic. For more customization ideas, check out our family-friendly recipes here.
8. Nutritional Information
Each No-Bake Cherry + Choc Mousse Cup contains approximately 250 calories. Here’s the macronutrient breakdown per serving:
- Carbohydrates: 30g
- Fats: 15g
- Proteins: 3g
Please note these values may vary slightly based on substitutions or portion sizes. Enjoy responsibly!
9. FAQs Section
Here are answers to some common questions about this recipe:
Q: Can I use dark chocolate instead of semi-sweet?
Yes, though dark chocolate will make the mousse less sweet. Adjust powdered sugar accordingly to balance the flavors.
Q: Can I make these cups ahead of time?
Absolutely! Assemble the cups up to 2 days in advance and store them in the fridge. Add garnishes just before serving for the freshest look.
Q: How do I prevent the whipped cream from deflating?
Chill the bowl and beaters before whipping, and avoid overmixing. Overwhipping can cause the cream to lose its structure.
Q: Can I freeze these mousse cups?
Freezing is not recommended, as the texture of the mousse and whipped cream may change upon thawing.
10. Conclusion
Crafting No-Bake Cherry + Choc Mousse Cups is a simple yet decadent way to indulge in a luxurious dessert without the hassle of baking. With their creamy layers, vibrant colors, and endless possibilities for customization, these mousse cups are sure to delight anyone who tries them. Whether you’re hosting a party, enjoying a quiet evening, or gifting a batch to loved ones, this recipe promises to bring joy and satisfaction.
We’d love to see your creations! Share your photos on social media using the hashtag #CherryChocMousseMagic and tag us for a chance to be featured. Have feedback or questions? Leave a comment below—we’re here to help! For more no-bake dessert inspiration, explore our collection of easy dessert recipes here. Cheers to effortless indulgence! 🍒🍫✨
Print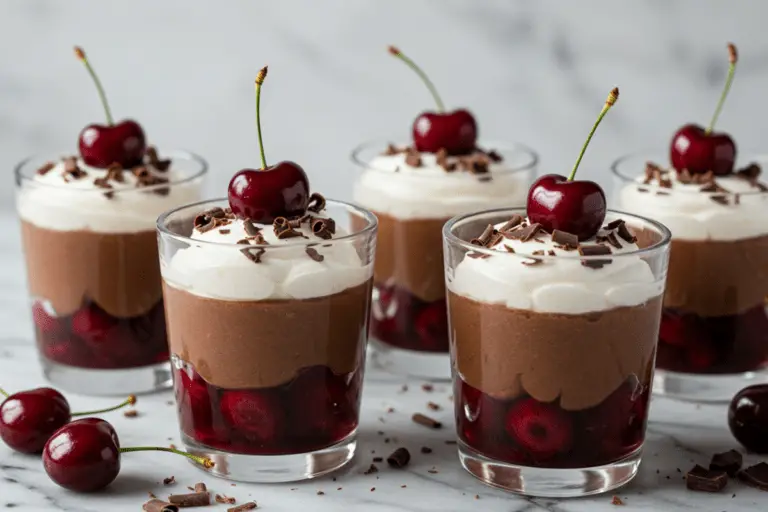
No Bake Cherry + Choc Mousse Cups
These no-bake cherry and chocolate mousse cups are the perfect combination of rich, creamy chocolate mousse and tangy cherry filling, topped with a dollop of whipped cream or fresh cherries for an extra touch of elegance. With minimal prep time and zero baking, they make for an indulgent dessert that’s perfect for holiday gatherings, romantic dinners, or last-minute parties. 🍫🍒✨
- Total Time: 1 hour 15 minutes (including chilling
- Yield: 4–6 servings 1x
Ingredients
For the Chocolate Mousse Layer:
- 1 cup heavy whipping cream
- 8 oz semi-sweet chocolate chips (melted and cooled slightly)
- 2 tbsp powdered sugar
- 1 tsp vanilla extract
For the Cherry Filling:
- 1 cup canned cherry pie filling (or homemade if preferred)
- 1 tsp lemon juice (optional, to enhance flavor)
For Assembly:
- 1 cup whipped cream (for piping, optional)
- Fresh cherries or chocolate shavings (for garnish)
Instructions
1. Making the Chocolate Mousse
- In a large mixing bowl, whip the heavy cream until stiff peaks form.
- Gently fold in the melted chocolate, powdered sugar, and vanilla extract until the mixture is smooth and airy.
- Chill the mousse in the fridge for 15–20 minutes to allow it to set slightly.
2. Preparing the Cherry Filling
- For canned cherry pie filling, stir in lemon juice to brighten the flavor.
- For homemade filling, combine fresh or frozen cherries with sugar, cornstarch, and water, and simmer until thickened. Allow to cool completely before using.
3. Assembling the Cups
- Spoon a layer of chocolate mousse into small serving cups or glasses.
- Add a dollop of cherry filling on top of the mousse.
- Repeat the layers, finishing with a swirl of whipped cream.
- Garnish with fresh cherries or chocolate shavings.
4. Chilling the Cups
- Refrigerate the assembled mousse cups for at least 1 hour to allow the flavors to meld and the textures to set.
Instructions
1. Making the Chocolate Mousse
- In a chilled mixing bowl, whip the heavy cream until stiff peaks form (this usually takes about 3-4 minutes using an electric mixer on medium-high speed).
- Gently fold in the slightly cooled melted chocolate, powdered sugar, and vanilla extract. Mix until smooth and creamy.
- Refrigerate the mousse for about 15-20 minutes to set slightly.
2. Preparing the Cherry Filling
- If using canned cherry pie filling, simply stir in the lemon juice to add a fresh zing.
- For homemade filling, combine fresh or frozen cherries, sugar, cornstarch, and water in a small saucepan. Simmer over medium heat, stirring occasionally, until the mixture thickens. Let it cool before using.
3. Assembling the Cups
- Spoon a layer of chocolate mousse into small serving cups or glasses, filling them about halfway.
- Add a dollop of cherry filling on top of the mousse.
- Repeat the process with another layer of mousse and cherry filling.
- Finish with a swirl of whipped cream on top for a creamy, fluffy touch.
4. Chilling the Cups
Refrigerate the assembled mousse cups for at least 1 hour to allow the flavors to meld and the textures to set.
Notes
- Make-Ahead Tip: Prepare the mousse cups up to 2 days in advance. Store in the fridge, but add garnishes just before serving.
- Storage: Store any leftover mousse cups in the fridge for up to 3 days.
- Prep Time: 15 minutes
- Cook Time: 0 minutes
- Category: Dessert
- Method: No-bake
- Cuisine: American
- Diet: Vegetarian

